Sessionizing Clickstream Data with Amazon Kinesis Data Analytics
On This Page
Lab
Creating an Amazon Kinesis Data Analytics Application
1. In the AWS Management Console search bar, enter Kinesis, and click the Kinesis result under Services:

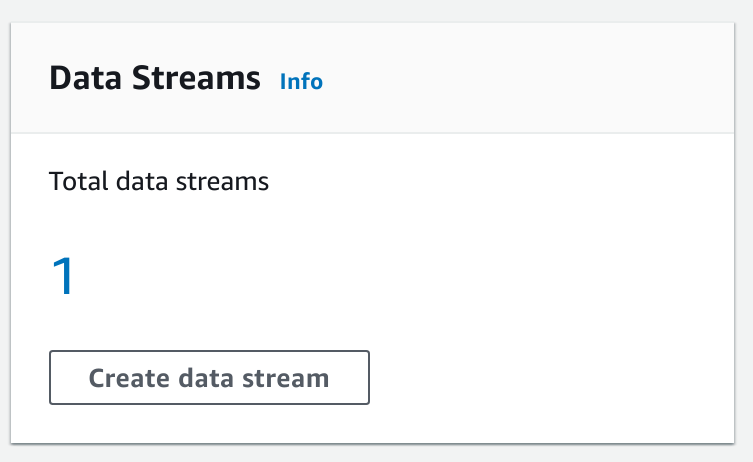
You will be taken to the Amazon Kinesis dashboard.
In this lab, a Kinesis Data Stream has been pre-created for you. Under Data Streams you will see Total data streams is one:
2. In the left-hand menu, click Analytics applications and under that click SQL applications:
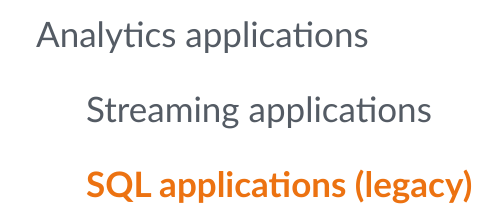
3. To start creating a Kinesis Data Analytics application, under Data Analytics, click Create SQL application (legacy):

You will be taken to the Create legacy SQL application form.
4. In the Application configuration section, and enter lab-application in the Application name textbox:
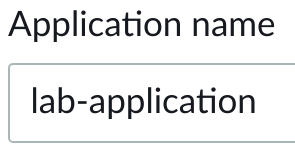
5. At the bottom of the page, click Create legacy SQL application:

You will be taken to a page displaying details of your application and you will see a notification that your application has been created:

You will come back to this page later in the lab to connect the pre-created Kinesis Data Stream as a data source for your Kinesis Data Analytics application.
6. To navigate to the Kinesis Data Streams list page, in the left-hand side menu, click Data streams:

You will see one data stream listed called lab-stream.
7. To view the details of the pre-created data stream, in the list, click lab-stream:
You will be taken to the Stream details page and you will see a series of tabs with Monitoring selected.
8. To see the configuration details of the data stream, click Configuration:

Take a moment to look at the details on this page, there are several Kinesis Data Stream configuration options that you should be aware of:
- Data Stream capacity: The number of shards in the Data Stream. Each shard has a maximum read and write capacity. To increase the total capacity of a data stream you can add shards.
- Encryption: Kinesis Data Streams can be encrypted using an AWS managed or customer-managed, KMS key.
- Data retention: A Kinesis Data Stream can retain data for a configurable amount of time between 24 and 168 hours.
- Enhanced (shard-level) metrics: More detailed CloudWatch metrics can be enabled for a Data Stream, these enhanced metrics have an extra cost.
In this lab, you will be working with a small amount of sample data, so there is one shard configured.
Leave these options without changing them.
Connecting to the Virtual Machine using EC2 Instance Connect
1. In the AWS Management Console search bar, enter EC2, and click the EC2 result under Services:

2. To see available instances, click Instances in the left-hand menu:

The instances list page will open, and you will see an instance named cloudacademylabs:

If you don’t see a running instance then the lab environment is still loading. Wait until the Instance state is Running.
3. Right-click the cloudacademylabs instance, and click Connect:
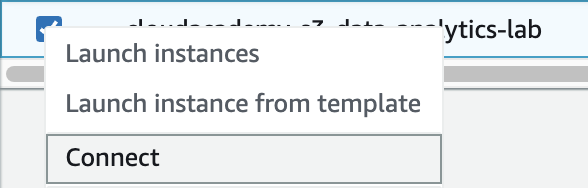
The Connect to your instance form will load.
4. In the form, ensure the EC2 Instance Connect tab is selected:

You will see the instance’s Instance ID and Public IP address displayed.
5. In the User name textbox, enter ec2-user:

Note: Ensure there is no space after ec2-user or connect will fail.
6. To open a browser-based shell, click Connect:

If you see an error it’s likely that the environment hasn’t finished setting up. Check for Setup completed at the top-left corner of the lab and try connecting again:
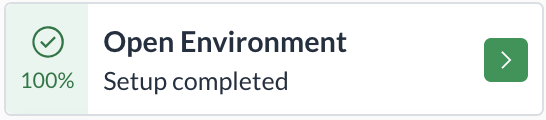
A browser-based shell will open in a new window ready for you to use.
Keep this window open, you will use it in later lab steps.
You can also connect to the instance using your preferred SSH client and the PPK (Windows) or PEM (Mac/Linux) key files in the Credentials section of this lab.
Simulating a Real-Time Clickstream
1. To create a template JSON file for a click event, enter the following command into the shell:
echo '{
  "user_id": "$USER_ID",
  "event_timestamp": "$EVENT_TIMESTAMP",
  "event_name": "$EVENT_NAME",
  "event_type": "click",
  "device_type": "desktop"
}' > click.json
There are two parts to this command, the first uses the built-in Bash command echo to print a JSON template. The second part uses a feature of the Bash shell called redirection, it redirects the output of the echo command to a file (creating it if doesn’t exist) called click.json.
The template contains five fields, the event_type, and device_type fields are hardcoded, in a non-lab environment, you may encounter streams that come from different types of devices and streams that contain more than one type of event (clickstream events alongside sales or transaction data for example). The other fields will be populated dynamically.
2. To put records into Kinesis and simulate a clickstream, enter the following command:
USER_IDS=(user1 user2 user3)
EVENTS=(checkout search category detail navigate)
for i in $(seq 1 3000); do
    echo "Iteration: ${i}"
    export USER_ID="${USER_IDS[RANDOM%${#USER_IDS[@]}]}";
    export EVENT_NAME="${EVENTS[RANDOM%${#EVENTS[@]}]}";
    export EVENT_TIMESTAMP=$(($(date +%s) * 1000))
    JSON=$(cat click.json | envsubst)
    echo $JSON
    aws kinesis put-record --stream-name lab-stream --data "${JSON}" --partition-key 1 --region us-west-2
    session_interval=15
    click_interval=2
    if ! (($i%60)); then
        echo "Sleeping for ${session_interval} seconds" && sleep ${session_interval}
    else
        echo "Sleeping for ${click_interval} second(s)" && sleep ${click_interval}
    fi
done
You will see the templated JSON and also the JSON response from Kinesis for each record put into the Data Stream:

This command simulates a real-time click-stream with the following characteristics:
- Creates three thousand events
- Events have a two-second interval between them
- After every sixty events (two minutes) there is a fifteen-second interval, later you will assume a gap of ten seconds or more is a session boundary
The command has a number of parts:
- Setup of sample user ids and event types at the beginning
- A loop that will execute three thousand times and a sleep statement
- Statements that randomly select a user id and an event type, and assign them along with the current timestamp to variables
- A statement that uses the envsubst command to substitute defined environment variables in the JSON template
- A statement invoking the AWS command-line interface tool, putting the templated JSON record into the Kinesis Data Stream
- A condition at the end of the loop that either sleeps for a few seconds or, periodically for longer, simulating the end of a session
Leave the command running.
4. In the list of applications, to expand the application, click lab-application:
5. To connect your Data Analytics application to the pre-created Data Stream, click ConfigureunderSource streamform:
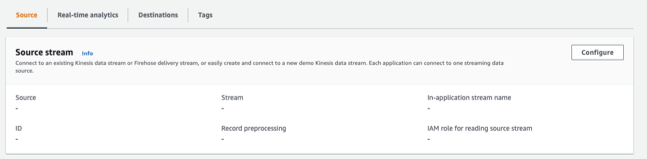
The Configure source for lab-application form will load.
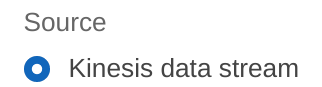
6. Under Source, ensure Kinesis data stream is selected:
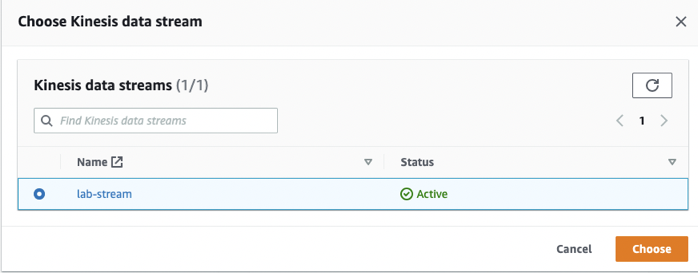
7. In the Kinesis data stream, click Browse to select the radio button for lab-streamand clickChoose:
8. Under Access permissions, select Choose from IAM roles that Kinesis Data Analytics can assume:

9. In the IAM role list, select the role beginning with cloudacademy-lab-data-analytics:

If you don’t see the above role listed click the refresh button:

10. To start discovering the schema of the records you added to the Data Stream, click Discover schema:
After a moment or two, you will see a notification that the discovery was successful and below, some of the records will be displayed:

11. To finish connecting your Data Analytics application to your Data Stream, click Save changes:

You will be redirected to the page for your Kinesis Data Analytics application. Leave this page open in a browser tab.
Sessionizing the Clickstream Data using Amazon Kinesis Data Analytics
1. Return to the page for your Kinesis Data Analytics application in the AWS Management Console.
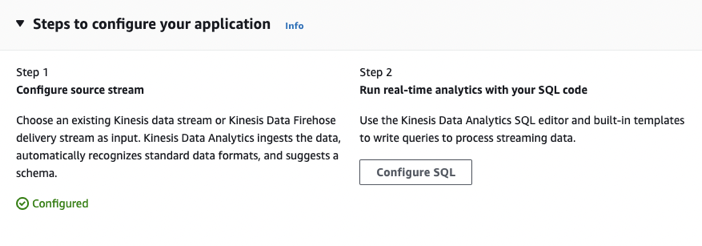
2. To start your application and expand the Steps to configure your application, click Configure SQL:
3. In the SQL code editor, replace the existing contents with the following SQL commands
CREATE OR REPLACE STREAM "INTERMEDIATE_SQL_STREAM"
(
    "event_timestamp" TIMESTAMP,
    "user_id" VARCHAR(7),
    "device_type" VARCHAR(10),
    "session_timestamp" TIMESTAMP
);


CREATE OR REPLACE  PUMP "STREAM_PUMP1" AS INSERT INTO "INTERMEDIATE_SQL_STREAM"
SELECT  STREAM
    TO_TIMESTAMP("event_timestamp") as "event_timestamp",
    "user_id",
    "device_type",
    CASE WHEN ("event_timestamp" - lag("event_timestamp", 1) OVER (PARTITION BY "user_id" ROWS 1 PRECEDING)) > (10 * 1000) THEN
            TO_TIMESTAMP("event_timestamp")
         WHEN ("event_timestamp" - lag("event_timestamp", 1) OVER (PARTITION BY "user_id" ROWS 1 PRECEDING)) IS NULL THEN
            TO_TIMESTAMP("event_timestamp")
         ELSE NULL
    END AS "session_timestamp"
FROM "SOURCE_SQL_STREAM_001";
These statements do the following:
- Defines an intermediate stream to insert data into called INTERMEDIATE_SQL_STREAM
- Creates a PUMP that selects data from the source stream
- The SELECT statement uses the LAG function to determine if there is a ten-second interval between the last event and the current event
- The LAG function statements are used with PARTITION statements to restrict the LAG function by the user
You should know that Kinesis Data Analytics natively assumes Unix timestamps include milliseconds. The stream you simulated is providing timestamps with milliseconds. This is why the CASE WHEN statement that checks for a ten-second interval includes (10 * 1000), it’s multiplying ten by one thousand to get ten seconds in milliseconds.
Tip: you can increase the height of the SQL editor text-box by dragging the grey bar at the bottom.
4. To execute the SQL statements, click Save and run application:

The query will take up to a couple of minutes to execute and start returning results.
Occasionally you may see an error caused by the fifteen-second interval, if you do, re-run the query by clicking Save and run application again.
Take a look at the results. Notice that only some records have a value for session_timestamp. This is because the CASE WHEN statement in the query supplies a value of null when:
- The interval between event timestamps is less than ten seconds
- There is no preceding event
Also notice that below the SQL Code editor, there are two streams, the INTERMEDIATE_SQL_STREAM, and an error_stream. The error stream is where any errors that occur during the execution of the SQL will be delivered to.
5. In the SQL editor window, under the current SQL statements, add the following:
CREATE OR REPLACE STREAM "DESTINATION_SQL_STREAM" (
    "user_id" CHAR(7),
    "session_id" VARCHAR(50),
    "session_time" VARCHAR(20),
    "latest_time" VARCHAR(20)
);


CREATE OR REPLACE  PUMP "STREAM_PUMP2" AS INSERT INTO "DESTINATION_SQL_STREAM"
SELECT STREAM
    "user_id",
    "user_id"||'_'||"device_type"||'_'||TIMESTAMP_TO_CHAR('HH:mm:ss', LAST_VALUE("session_timestamp") IGNORE NULLS OVER
        (PARTITION BY "user_id" RANGE INTERVAL '24' HOUR PRECEDING)) AS "session_id",
    TIMESTAMP_TO_CHAR('HH:mm:ss', "session_timestamp") AS "session_time",
    TIMESTAMP_TO_CHAR('HH:mm:ss', "event_timestamp") AS "latest_time"
FROM "INTERMEDIATE_SQL_STREAM"
WHERE "user_id" = 'user1';
These SQL statements do the following:
- Creates a stream called DESTINATION_SQL_STREAM
- Creates a PUMP that selects from the INTERMEDIATE_SQL_STREAM
- Constructs a session_id by combining the user, device type and time
- Restricts the query to user1 using a WHERE clause
Something else to note about these statements is that the session and event timestamps are being converted to times.
6. To run the updated query, click Save and run application.
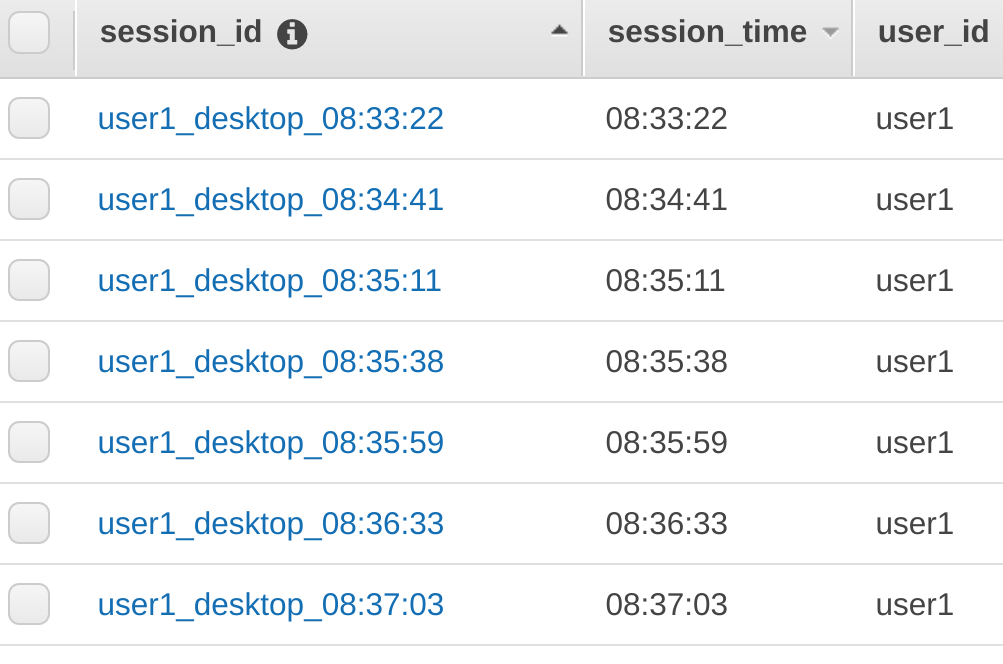
You will see results similar to:
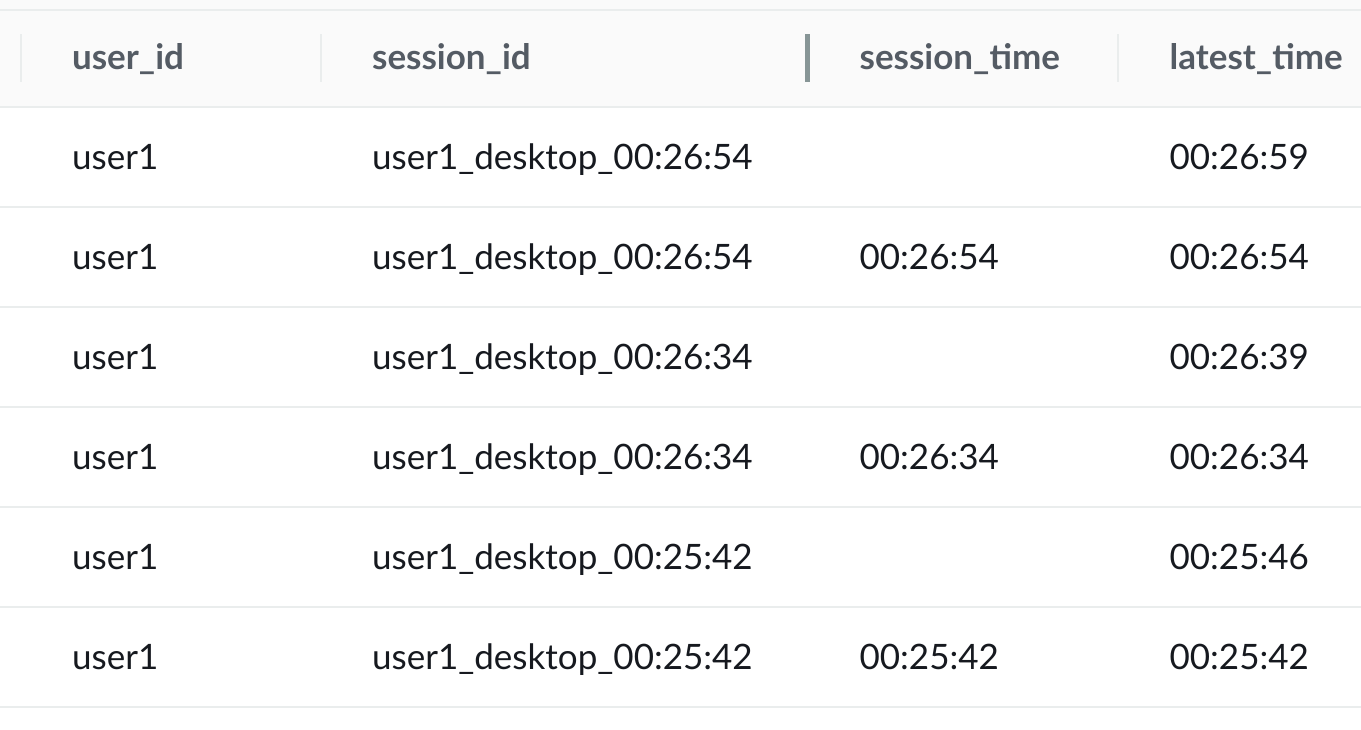
Your times will be different.
Notice that the session_time values are more than ten seconds apart. And that the seconds’ interval of the latest_time column between the rows that have a session time, is ten seconds or less.
7. To see only the rows for new sessions, replace the last line of the query with the following:
WHERE "session_timestamp" IS NOT NULL;
This change to the WHERE clause of the last SQL statement removes the restriction of the query to user1, and removes rows where the value of session_timestamp is null.
8. Click Save and run application to re-run your query.
You will see results similar to the following:
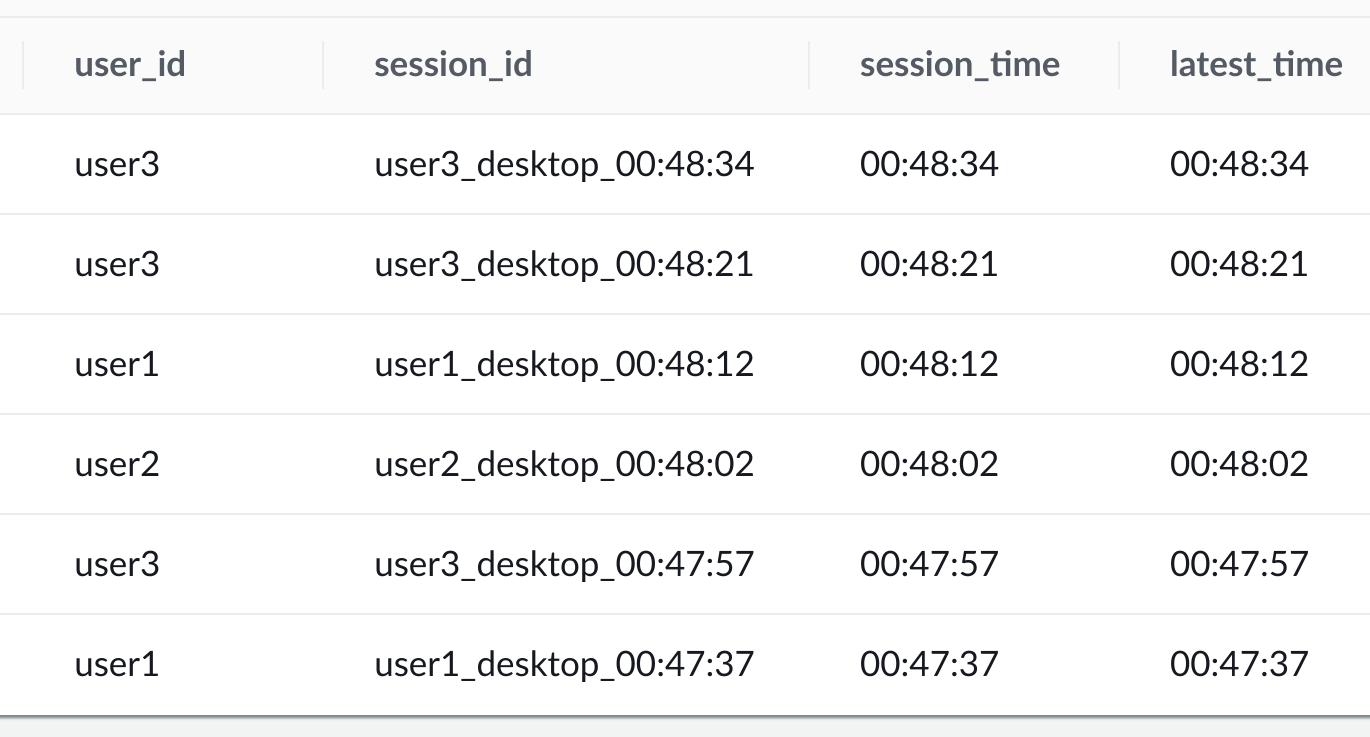
Your results will be different.
The results now contain only session boundary rows for each of the users.
Leave this browser tab open with the query running in Kinesis Data Analytics.
Creating an AWS Lambda function to Store Sessions in an Amazon DynamoDB Table
1. In the AWS Management Console search bar, enter Lambda, and click the Lambda result under Services:
2. To start creating your function, click Create function:
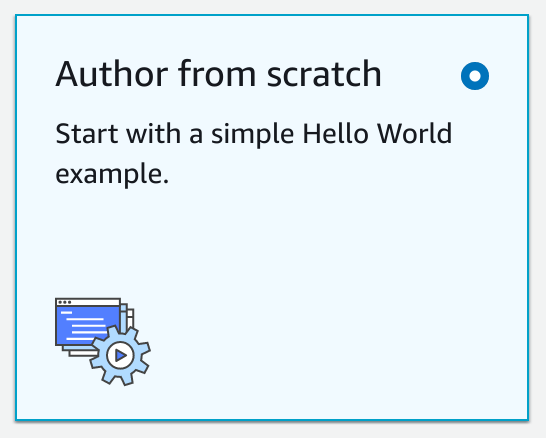
3. Under Create function, ensure Author from scratch is selected:
4. Under Basic information, in the Function name text-box, enter lab-function:
5. In the Runtime drop-down, select the latest Python 3.x version available.
6. To expand the role selection form, click Change default execution role.
7. Under Execution role, select the Use an existing role radio button:

8. To assign an execution role, in the Existing role drop-down, select the role called cloudacademy-lab-lambda:
9. To create your function, click Create function:
You will be taken a page where you can configure your function, and you will see a notification that your function has been successfully created:

10. Scroll down to the Code source section and in the code editor double-click the lambda_function.py file.
11. To update your Lambda function’s implementation, replace the code in the editor window with the following:
from __future__ import print_function
import boto3
import base64
from json import loads

dynamodb_client = boto3.client('dynamodb')

table_name = "CloudAcademyLabs"

def lambda_handler(event, context):
    payload = event['records']
    output = []
    success = 0
    failure = 0

    for record in payload:
        try:
            payload = base64.b64decode(record['data'])
            data_item = loads(payload)

            ddb_item = {
                'session_id': { 'S': data_item['session_id'] },
                'session_time': { 'S': data_item['session_time'] },
                'user_id': { 'S': data_item['user_id'] }
            }

            dynamodb_client.put_item(TableName=table_name, Item=ddb_item)

            success += 1
            output.append({'recordId': record['recordId'], 'result': 'Ok'})
        except Exception:
            failure += 1
            output.append({'recordId': record['recordId'], 'result': 'DeliveryFailed'})

    print('Successfully delivered {0} records, failed to deliver {1} records'.format(success, failure))
    return {'records': output}
This python code processes a record from Kinesis Data Analytics and puts it into a DynamoDB table.
The implementation is based on one provided by AWS. The only change is the statements that construct the ddb_item. They have been modified to match the data being supplied by your Kinesis Data Analytics application.
12. To deploy your function, at the top, click Deploy:
You will see a notification that your function has been deployed:
13. To configure a timeout for your function, click the Configuration tab, and click Edit:
14. Under Timeout, enter 1 in the min text-box, and 0 in the sec text-box:
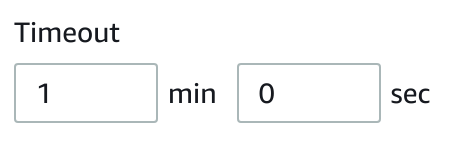
You are updating the timeout because the default of three seconds is too low when processing data from Kinesis Data Analytics, and may lead to failures caused by the function timing out. AWS recommends setting a higher timeout to avoid such failures.
15. To save your function’s updated timeout, click Save:

You will see a notification that your change to the timeout has been saved:

Configuring Amazon Kinesis Data Analytics to Use Your AWS Lambda Function as a Destination
1. Navigate to Kinesis Data Analytics in the AWS Management Console.
2. In the list of applications, to expand the application, click lab-application:
3. To begin configuring your Lambda as a destination, expand the Steps to configure your application and click Add destination:
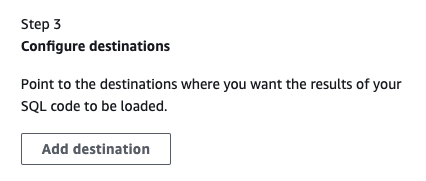
The Configure destination form will load.
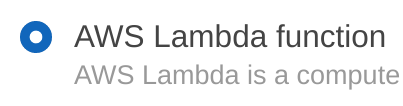
4. Under Destination select AWS Lambda function:
5. Under AWS Lambda function, click Browse and check radio box for lab-functionfollowed by clickingChoose:
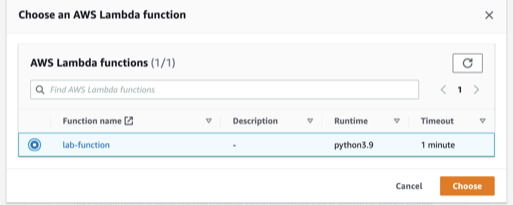
This is the Lambda function you created in the previous lab step.
6. Under Access permissions, ensure Choose from IAM roles that Kinesis Data Analytics can assume is selected:

7. In the IAM role drop-down, select the role called cloudacademy-lab-lambda:
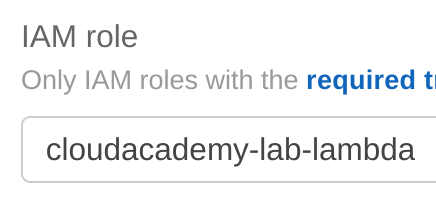
This is a role that has been pre-created for this lab and allows Kinesis Data Analytics to invoke your Lambda function.
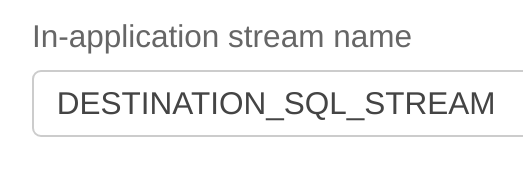
8. In the In-application stream section, under Connect in-application stream, select Choose an existing in-application stream:

9. In the In-application stream name drop-down, select DESTINATION_SQL_STREAM:
10. To finish connecting your Kinesis Data Analytics application to your Lambda function, click Save changes:

Your Kinesis Data Analytics application is being updated. Please be aware that it can take up to three minutes to complete.
Once complete the details page for Kinesis Data Analytics application will load.
11. In the AWS Management Console search bar, enter DynamoDB, and click the DynamoDB result under Services:

12. In the left-hand menu, click Tables:

13. In the list of tables, click CloudAcademyLabs:
This table was pre-created as a part of this lab.
14. To see items in the DynamoDB table, click the Explore Table****Items button:
You will see the items in the table listed similar to:
These items have been inserted into the DyanmoDB table by your Lambda function, it’s being invoked by your Kinesis Data Analytics application.