Develop and Deploy an Application with AWS CodeStar
On This Page
Lab
Creating an AWS CodeStar Project
1. In the AWS Management Console search bar, enter CodeStar, and click the CodeStar result under Services:
2. On the welcome page, click Create project.
Take a moment to see all of the different templates available in AWS CodeStar.
3. Check the following boxes on the left filter bar to narrow down the listed templates:
- AWS services: EC2
- Application category: Web application
- Programming languages: Node.js
The choice of Application categoryand Programming language will be driven by the requirements of your project and skills available to you. The choice of AWS services may not be as easy. Some guidelines for choosing between the alternatives are:
- AWS Elastic Beanstalk: A good choice for a fully managed application environment running on EC2 servers. This option allows you to stay focused on your code.
- Amazon EC2: Preferable when you want to host the application on servers that you manage yourself, including on-premise servers.
- AWS Lambda: Choose this option if you want to run a serverless application.
4. Select the Express.jsproject template:
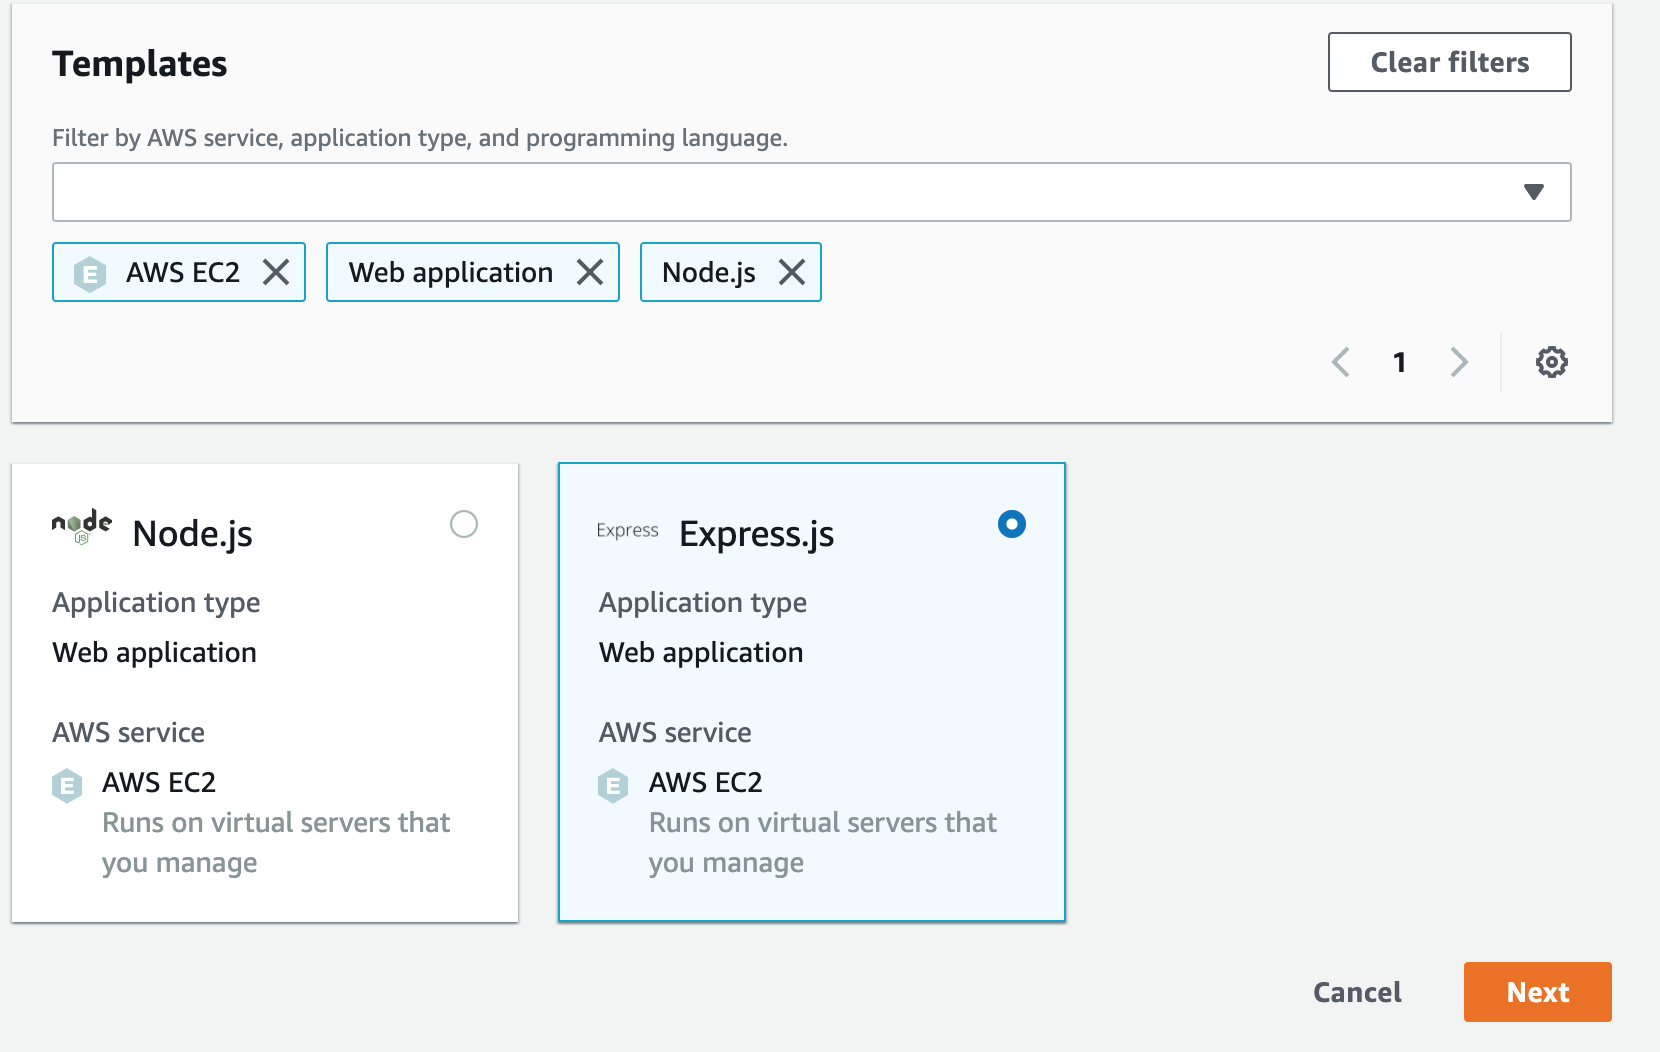
Express.js is a popular Node.js web application framework.
5. In the next step of the Create project wizard, enter the following:
- Project name: ca-app-<Unique_String> (Replace <Unique_String> with a 6 characters. The name must be unique for the region because of AWS CodeCommit repository name restrictions)
- Project ID: Accept the default value
The instructions in this Lab use ca-app for the project name, but you should use a different name or the project creation may fail if it is already in use.
6. Make sure that CodeCommit is selected under Project repository:
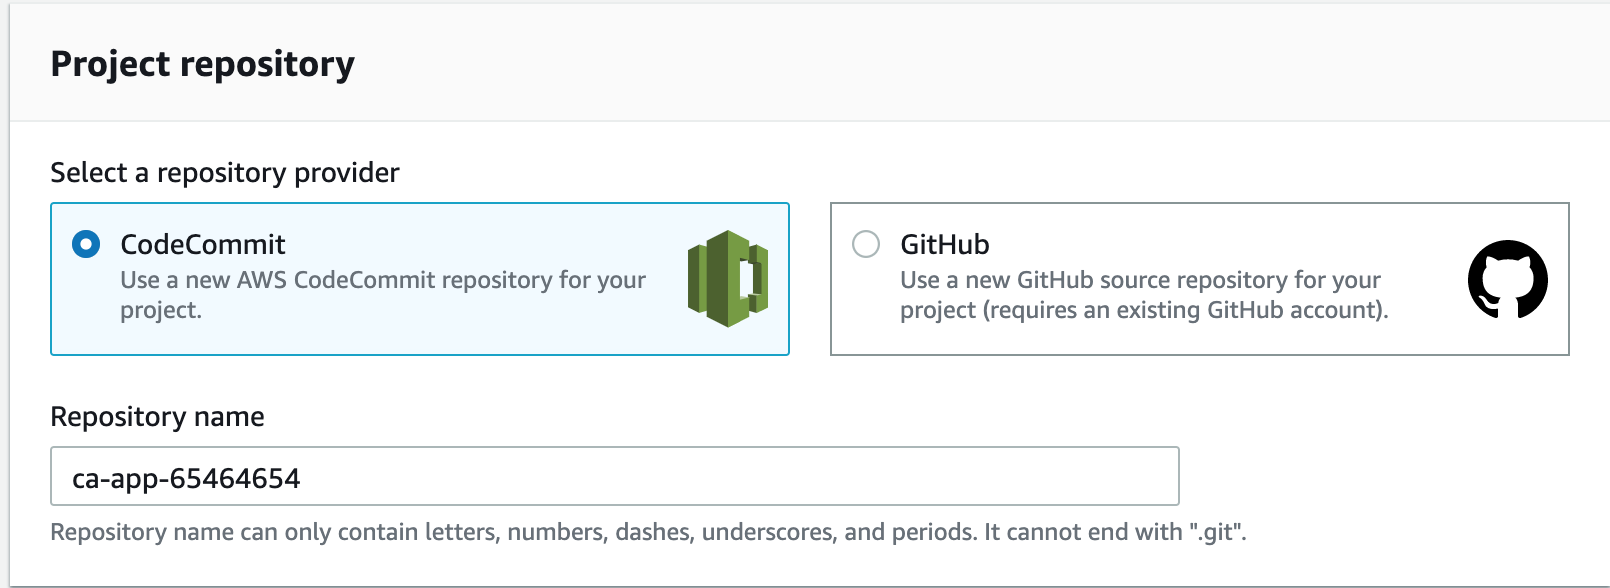
You will see the EC2 Configuration section of the form.
7. Ensure the following values are selected:
- Instance type: t2.micro(default value)
- VPC: Select the non-default VPC (The VPC without “(Default)”),or the VPC with only two subnets if there is no (Default) label
- Subnet: Select the subnet in the us-west-2a availability zone
If you can’t see which subnet is in us-west-2a hover your mouse over each subnet.
8. Click Next and thenCreate Project:

Connecting to the Virtual Machine using EC2 Instance Connect
1. In the AWS Management Console search bar, enter EC2, and click the EC2 result under Services:

2. To see available instances, click Instances in the left-hand menu:

The instances list page will open, and you will see an instance named cloudacademylabs:

If you don’t see a running instance then the lab environment is still loading. Wait until the Instance state is Running.
3. Right-click the cloudacademylabs instance, and click Connect:
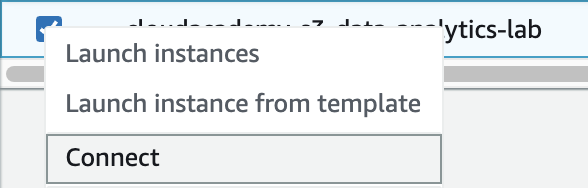
The Connect to your instance form will load.
4. In the form, ensure the EC2 Instance Connect tab is selected:

You will see the instance’s Instance ID and Public IP address displayed.
5. In the User name textbox, enter ec2-user:

Note: Ensure there is no space after ec2-user or connect will fail.
6. To open a browser-based shell, click Connect:

If you see an error it’s likely that the environment hasn’t finished setting up. Check for Setup completed at the top-left corner of the lab and try connecting again:
A browser-based shell will open in a new window ready for you to use.
Keep this window open, you will use it in later lab steps.
You can also connect to the instance using your preferred SSH client and the PPK (Windows) or PEM (Mac/Linux) key files in the Credentials section of this lab.
Touring the AWS CodeStar Project Website
1. Observe the tiles that are included in your Dashboard:
IDE: References for how to get started with a variety of integrated development environments (IDEs) under Access your project code. You will simply use the EC2 instance to edit the code interact with CodeCommit in this lab.
Repository: You can see the main details related to the code repository here. The most recent code commits for the selected branch:
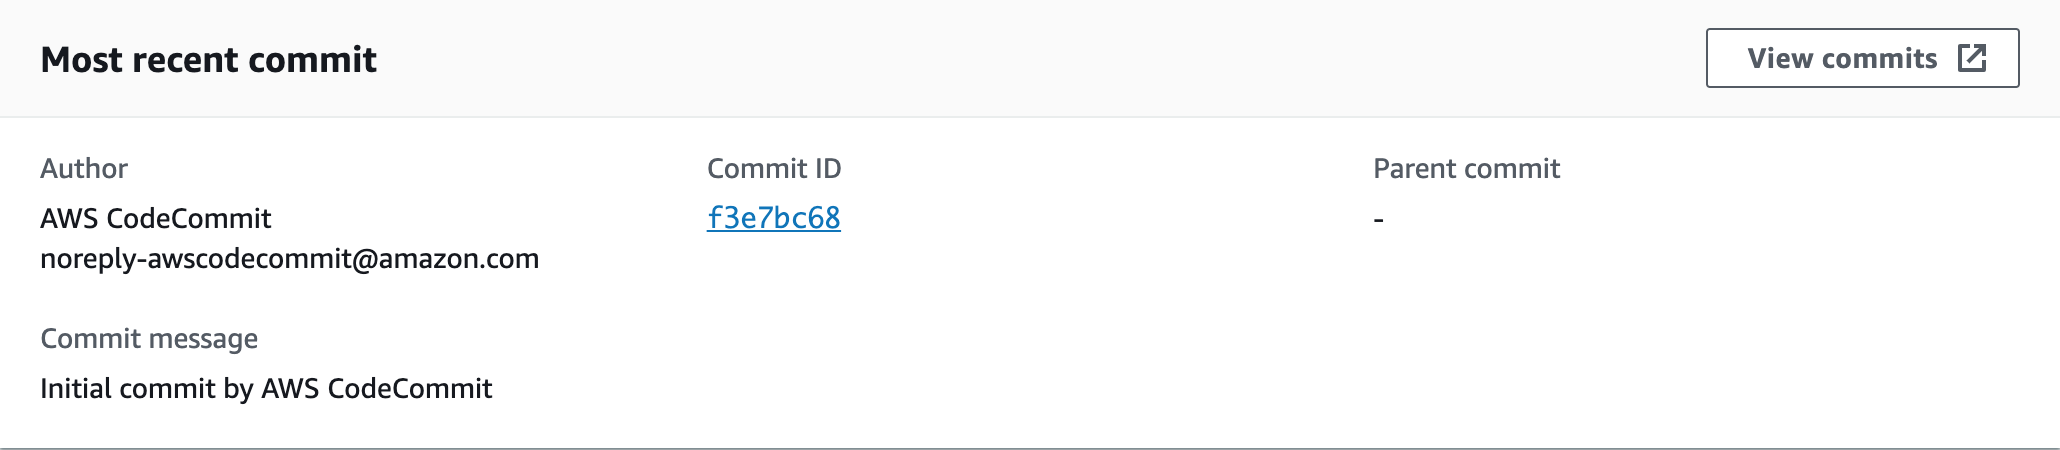
The View commits button opens the detailed view list of the commits. Currently, there is only a master branch and the initial commit to display. The committer, AWS CodeStar, made the initial commit during the project creation. Each commit also includes a button on the right to view the code changes in AWS CodeCommit. You will look at the code in a future Lab Step.Pipeline: This shows a graphical representation of the release pipeline for your project:
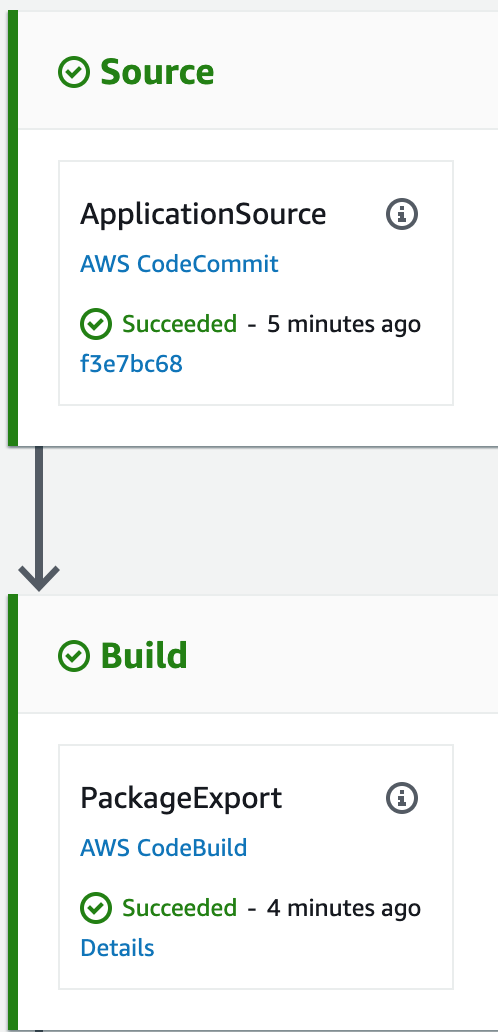
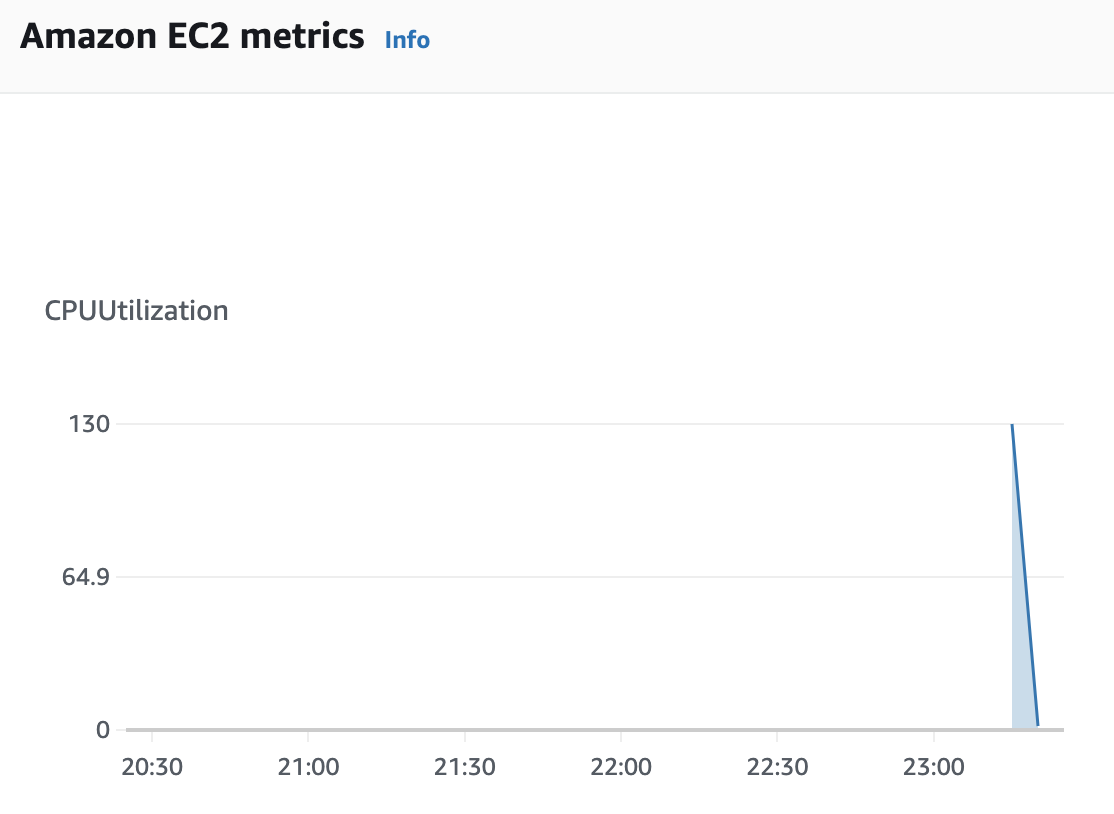
Any time you commit a code change to the master branch, the pipeline will automatically deploy your application. As your application grows and the requirements for your release pipeline change, you can modify the pipeline by clicking Edit. For example, you may want to add an automated test stage, invoke an AWS Lambda function, or modify the deployment group to deploy to an Auto Scaling group. The Release changebutton can be used to force a deployment of the latest commit. That can be useful if you modify the pipeline or something went wrong with the release. If something does go wrong with a pipeline stage, you will see the bar on the left turn red.Monitoring: This shows the CPUUtilization and other metrics of the EC2 instance where your application is deployed.
Issues: This Lab doesn’t include a JIRA project, but for projects requiring issue tracking you can find link to JIRA from here.
3. Click View application in the upper-right to view the application included in the template:
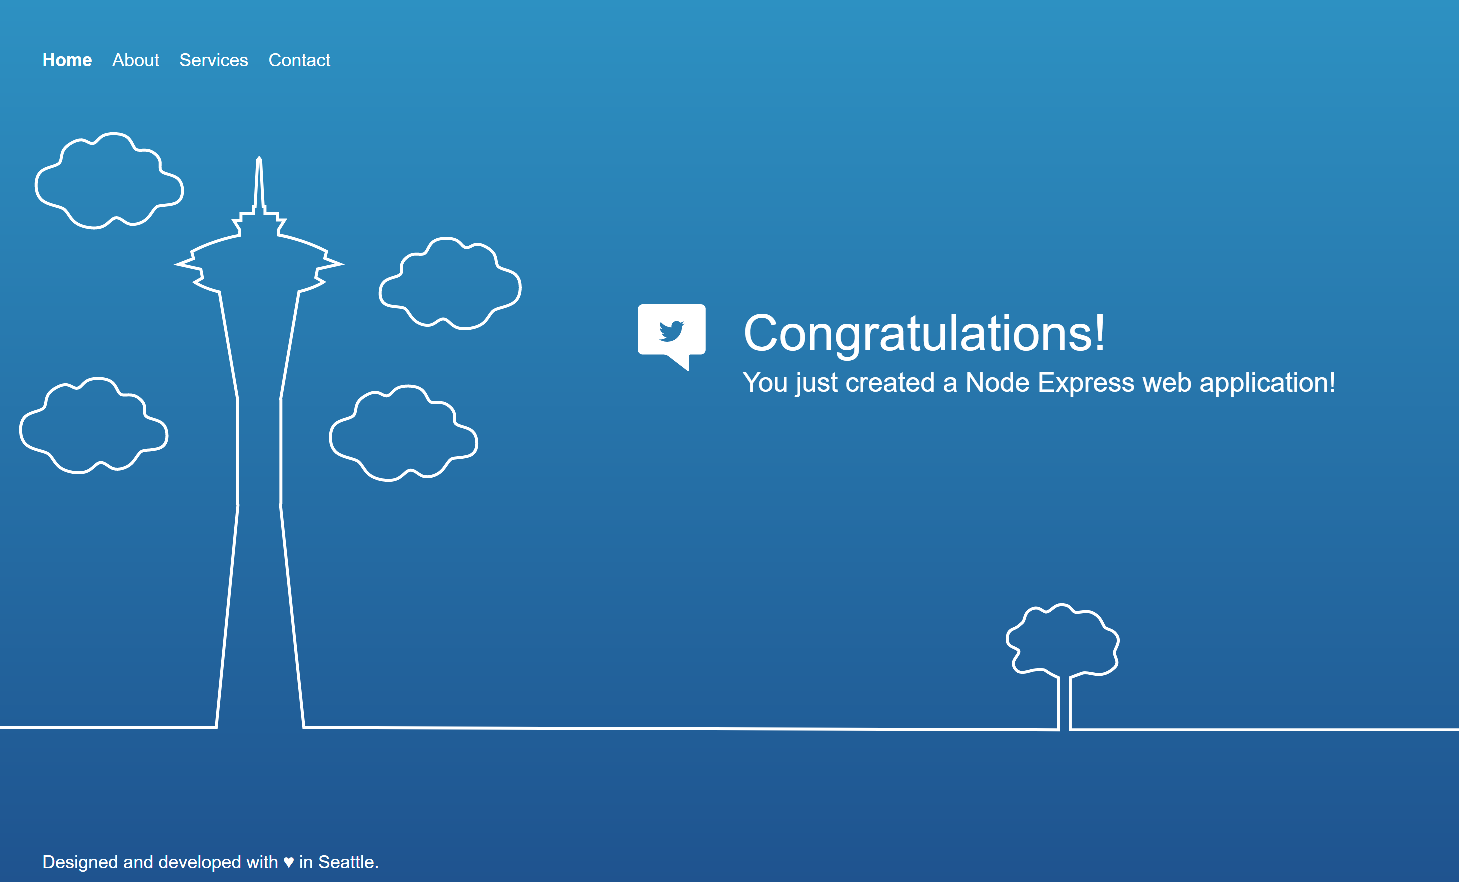
Depending on your time of day, the background will change. You will commit a code change later to modify the appearance of the application.
4. Look at the Project resources tab under the Overview.
The most interesting thing to see here is the list of all the Project Resources created by the project template:
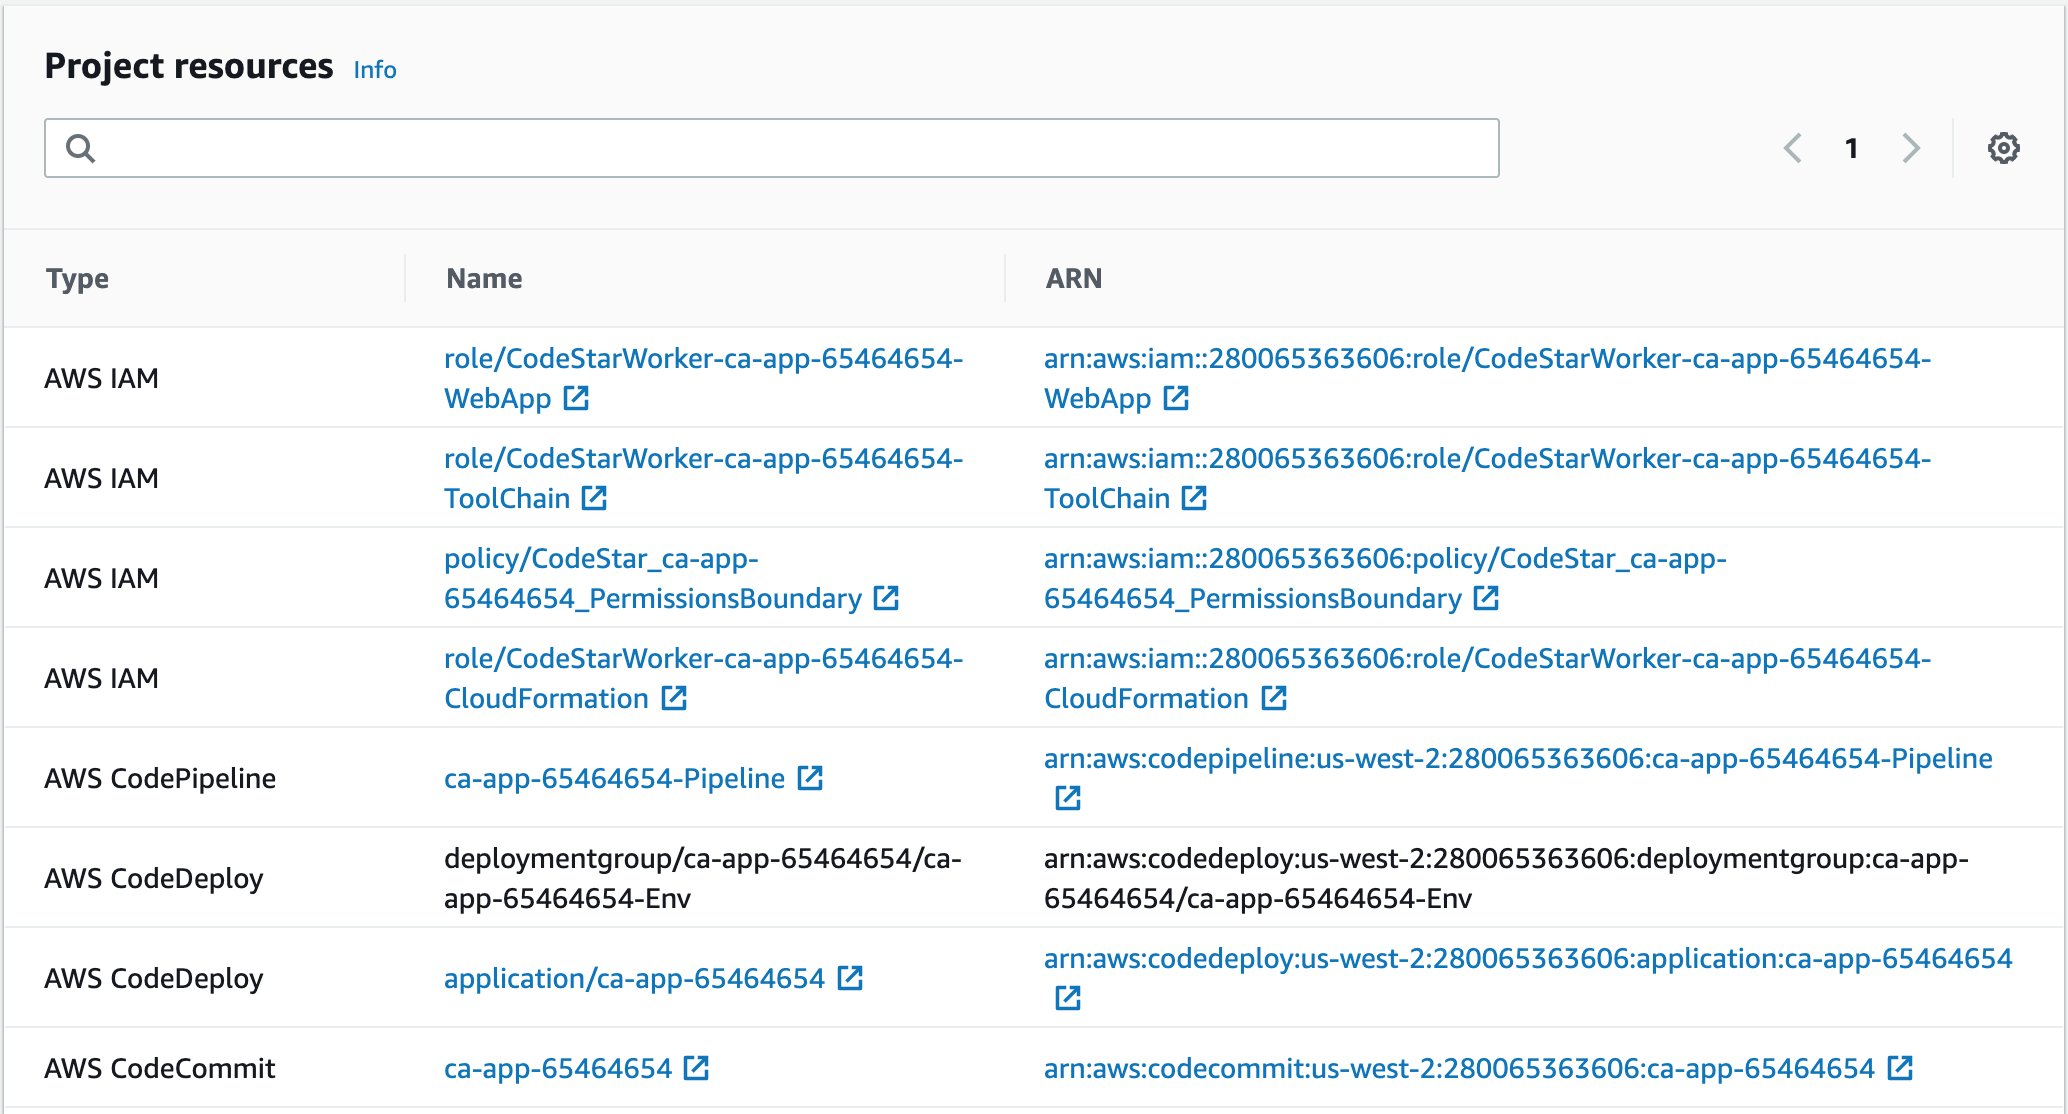
AWS CodeStar saved you a lot of time compared to manually configuring everything that is included. Notice that AWS CloudFormation includes a stack resource. That is how AWS CodeStar works behind the scenes. Each project template creates a stack in AWS CloudFormation. Of course, you don’t need to know any of the details. AWS CodeStar does everything for you so you can focus on development.
If you need to delete an AWS CodeStar project, you can do so from the CodeStar project page. You will be given a choice of keeping the associated resources or also deleting the associated resources.
Developing Your AWS CodeStar Project
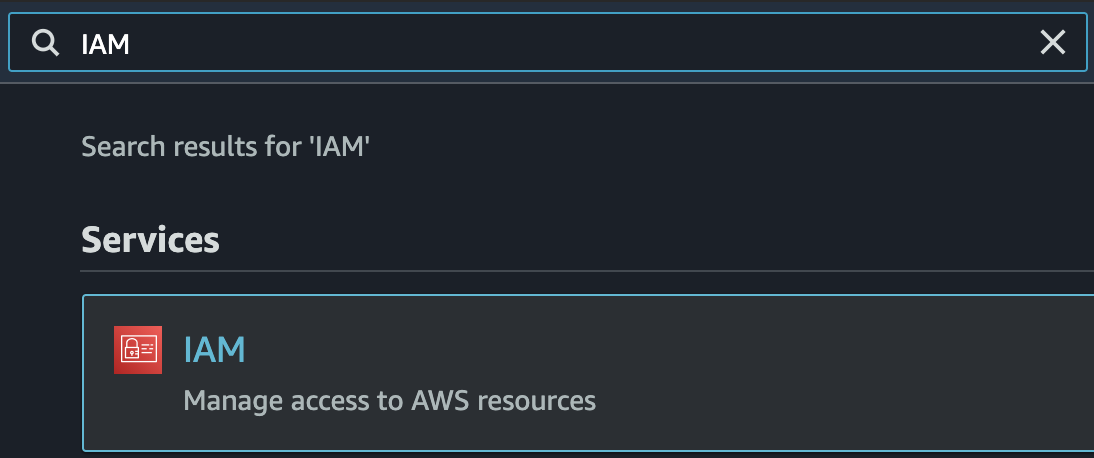
1. In the AWS Management Console search bar, enter IAM, and click the IAM result under Services:
2. Click on Users in the left navigation panel.

3. In the Users table, click on student.

4. Click on the Security credentials tab.

5. Scroll down to the HTTPS Git credentials for AWS CodeCommit section, and click Generate credentials:

This will show a pop-up dialog showing you your credentials.
6. Click Download credentials:

Your browser will download a file containing a username and password. Keep this file, you will use the credentials to connect to your AWS CodeStar repository.
7. Return to your AWS CodeStar project’s Repository tab and click HTTPS under Clone repository:
This copies the HTTPS url of the CodeCommit repository to your clipboard.
8. Paste the repository into the file with your code repository credentials.
You will use this URL later to access your repository.
9. Return to the SSH shell connected to the dev-instance EC2 instance and enter cd to ensure you are in your home directory of /home/ec2-user.
Refresh the instance connect browser tab if the session has expired.
10. To tell Git to cache your credentials for a few hours, enter the following command:
git config --global credential.helper 'cache --timeout=10800'
11. Tell Git your user name:
git config --global user.name "student"
This name will show up on the commits in your project dashboard.
12. To clone your AWS CodeStar project repository, enter:
git clone <YOUR_PROJECT_REPOSITORY_URL>
Replace <YOUR_PROJECT_REPOSITORY_URL> with the URL you copied in a previous instruction.
Your URL will be similar to https://git-codecommit.us-west-2.amazonaws.com/v1/repos/ca-app.
13. When prompted, enter the Username and Password you saved in a text file earlier in this Lab Step.
Tip: The password generated by AWS is long and it is easy to make a typo when entering it. To avoid errors copy and paste the password.
14. Change the repository directory name to ca-app:
mv ca-app-<Unique_string> ca-app
Note: Change ca-app-<Unique_string> to the name of your repository.
This won’t change the repository name. It will only simplify the instructions at the command-line by not having to enter your unique string following ca-app in this and later Lab Steps.
15. Change into the directory:
cd ca-app
16. Enter ls to get a quick overview of the project structure.
There are several files:
- app.js: JavaScript file that starts the server
- appspec.yml: Configuration file that instructs AWS CodeDeploy what steps to perform to deploy your application
- package.json: Metadata and dependencies related to your project
- README.md: Text file explaining the project template
There is no need to get into the details of the file contents at this time. However, it is good to know that the appspec.yml file specifies scripts that run during the deployment of your application. The scripts are contained in one of the two project directories:
- public: Static assets used for your application
- scripts: Scripts executed by AWS CodeDeploy during the deployment of your application
Now you can get the server running on your development machine.
17. Install the project dependencies using Node package manager (npm) and start the Node.js server:
npm install
node app.js
While the server is running you won’t be able to enter new commands. That won’t be a problem. Now you can test that the development server is serving the application.
19. Select the instance named cloudacademylabs:

In the Description tab, you will see a field called Public DNS (IPv4).
20. To copy the public DNS, click the click the copy icon under Public IPv4 DNS:

21. Open a new browser taband paste the public DNS and append :3000 to the end and press enter:
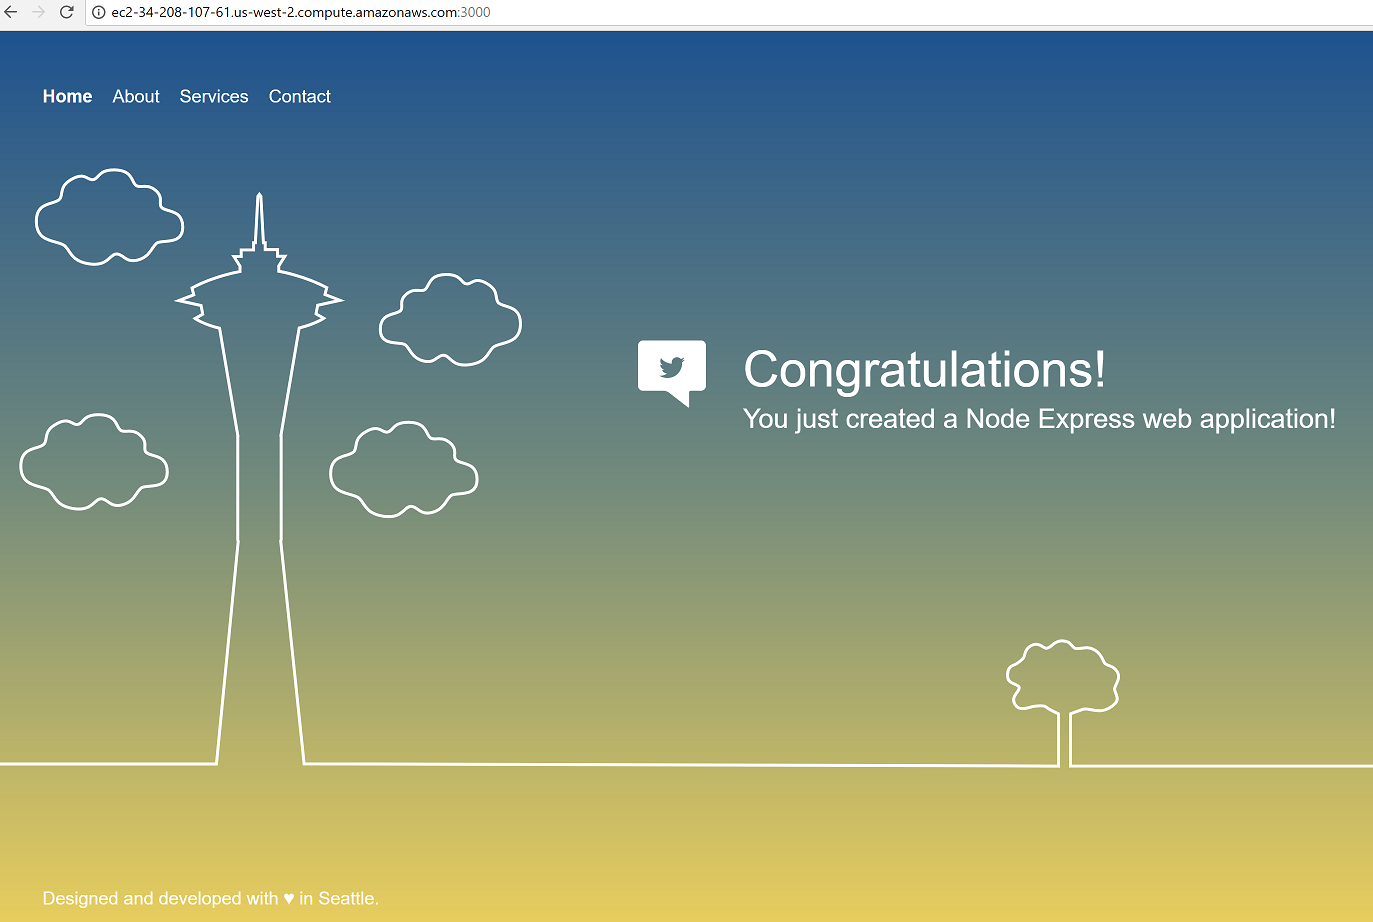
Now that you verified the application works on the development machine, you can make some code changes.
22. Return to the SSH shell and press Ctrl+C to kill the running Node.js server.
23. Enter the following multiline command at the shell prompt to update a file in the project:
echo 'var idx = Math.floor(new Date().getHours());
var body = document.getElementsByTagName("body")[0];
var idxStep = 1;
var refreshRate = 1000;

function adjustIdx() {
  if (idx <= 0) {
    // Start increasing idx
    idxStep = 1;
  } else if (idx >= 23) {
    // Start decreasing idx
    idxStep = -1;
  }
  idx += idxStep;
  body.className = "heaven-" + idx;
}

body.className = "heaven-" + idx;
setInterval(adjustIdx, refreshRate);' > public/js/set-background.js
24. Test the changes by running the server again with node app.js and refresh the browser tab with your development application.
You will see a similar page as the previous one, but the color will change roughly once a second.
25. Stop the Node.js server with Ctrl+C.
26. View the local repository status:
git status
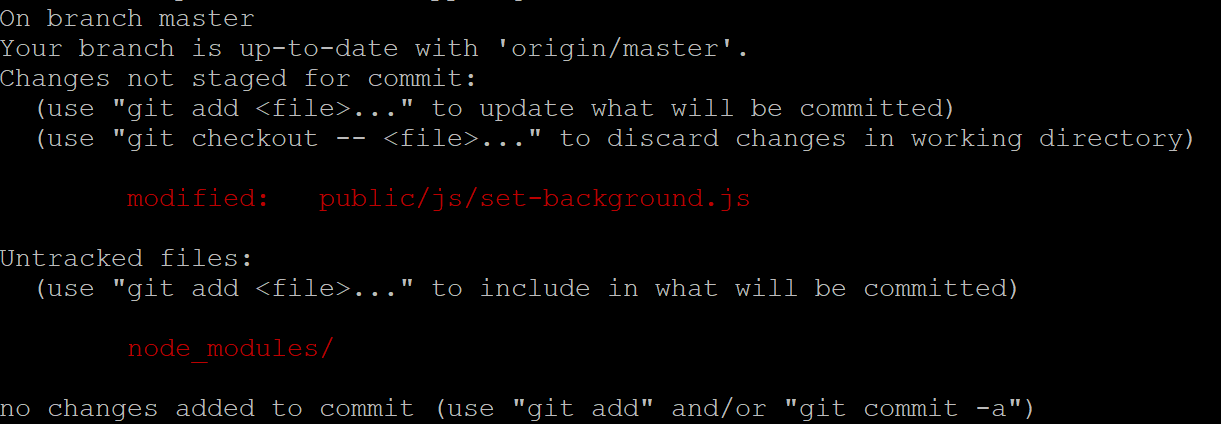
This tells you that you are on the master branch and working from the initial code commit. The output also shows the set-background.js file was modified. You need to add the file to stage it before committing.
27. Add the modified file to the staged changes in the commit:
git add public/js/set-background.js
28. Commit the staged changes to the local repository and add a short message about the changes:
git commit -m "animation"
29. Push the changes in your local repository to the remote AWS CodeStar project repository so they are synchronized:
git push
Now that you have made a change to your code, you will see how the changes are deployed in the next Lab Step.
Summary
In this Lab Step, you committed a code change to your AWS CodeStar project repository. You created the required credentials and tested the application on your development server.
Deploying Your AWS CodeStar Project
1. Return to your AWS CodeStar project view.
There are a few things to notice since you were here last:
- Your commit is now visible in the Repository> Most recent committile
- Your Monitoring > CPUUtilization tile might show some spikes if your application has already been deployed
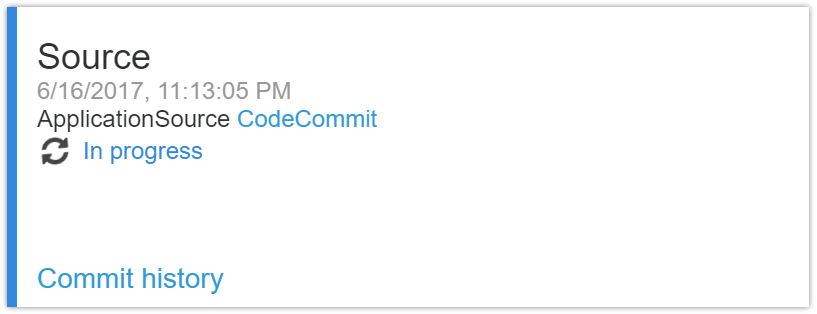
- Your Pipeline tab may show one of the pipeline stages In progress or you may see a recent timestamp inside each stage box telling you the new version has been deployed.
If you missed the release flowing through the stages of the pipeline, click Release change and click Continue in the pop-up.
2. To inspect the code, in the Repository tab, click the most recent Commit ID:
Your commit Id will be different.
3. Look at the code changes:
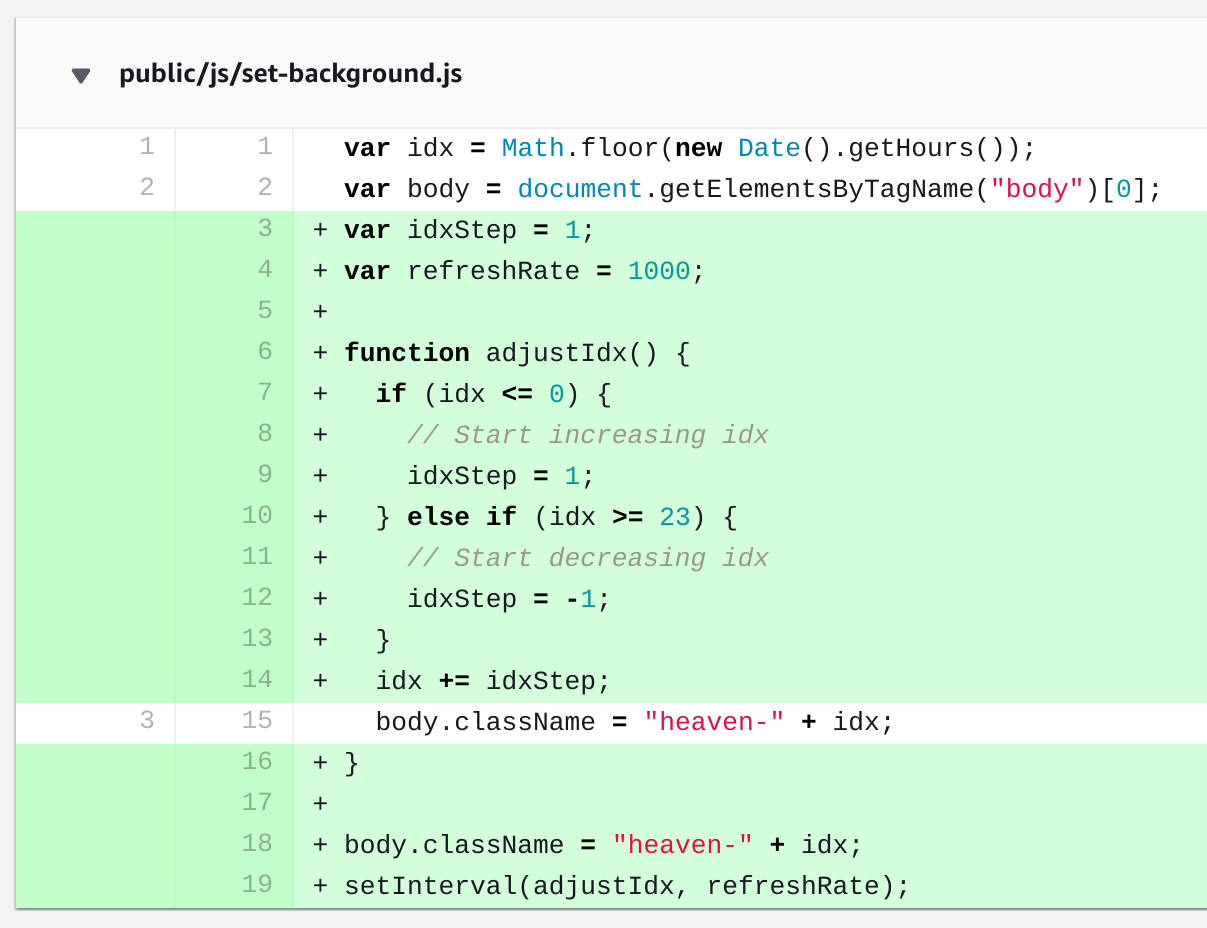
Additions appear in green and removals would appear in red, if any were present. This is an easy way to keep track of what is happening to the code in your AWS CodeStar project.
4. Navigate back to the Pipeline tab. Click on AWS Code Deploy under Deploy:
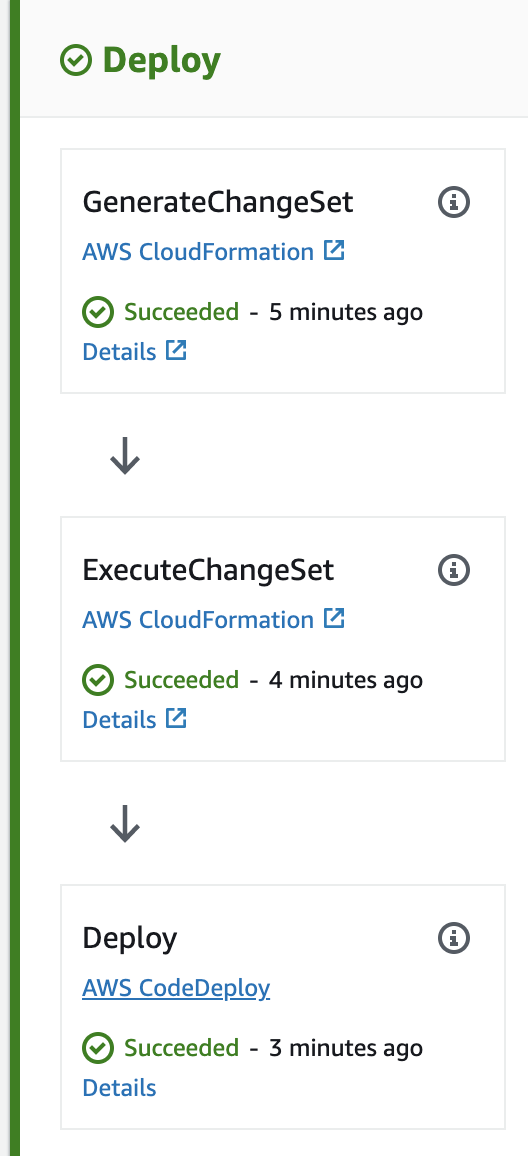
This opens your application in AWS CodeDeploy:
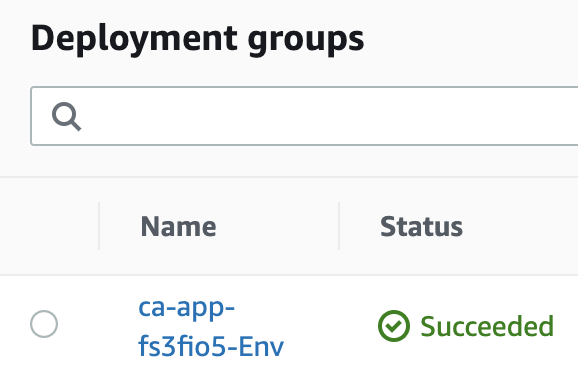
You can see the Deployment Groups created for deploying your application. In this case there will be just one with a Nameending in -Env. The Statuscolumn will tell you if your last deployment Succeededor failed. The time of the Last attempted deployment and Last successful deployment are also recorded.
5. Click the name of your deployment group beginning with ca-app:
Notice that by default Rollback enabled is false. That means if your deployment fails, AWS CodeDeploy will not attempt to deploy the last successful version. That is something you might consider changing when you use AWS CodeStar for one of your projects.
6. Scroll down the page and inspect the Deployment group deployment history section.
Each deployment that was attempted to be deployed is recorded here along with a link to where the artifacts are located on Amazon S3.
7. Click on the most recent deployment in the Deployment Id column:
Your deployment will have a different deployment id.
This opens a page with details of the most recent deployment:
- Deployment status: shows the state of the deployment operation
- Deployment details: shows information similar to what you saw on the AWS CodeDeploy application page
- Revision details: shows information about the revision deployed, including the location in AWS S3
- Deployment lifecycle events: tells you the start and end times as well as the Durationof the deployment
8. To view the deployment life-cycle events, click View events down the bottom:

9. To view the events, scroll down to the event list:
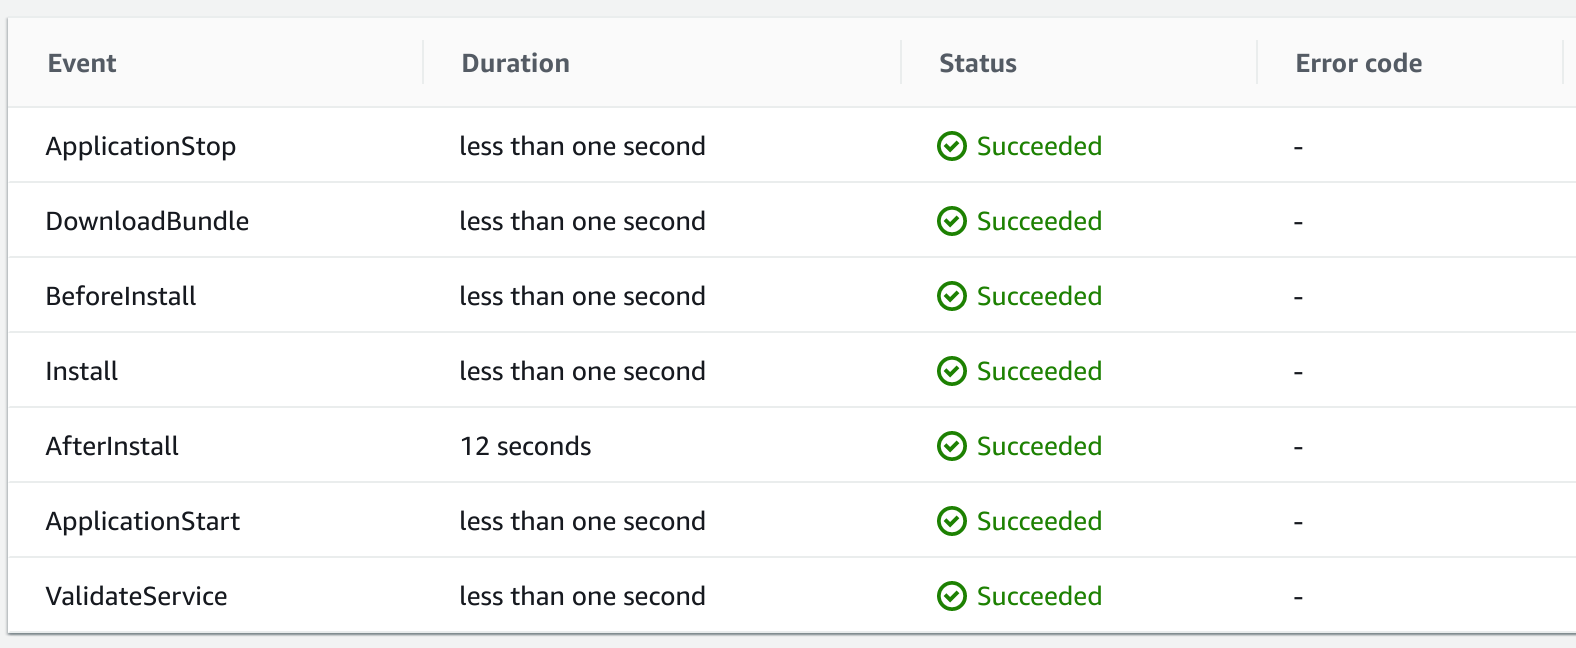
You will see events similar to the above.
In case of a failed deployment, one of the events will record the failure and provide a link under the Logs column to investigate the command and logs related to the failure. If you recall, the appspec.yml file in the code project was used to instruct AWS CodeDeploy on how to deploy your application. Your project provides different scripts to run for some of the events listed in the table.
10. Finally, return to the AWS CodeStar and click View application.
You will see the latest version of your application including the animation commit deployed and available to the world.
Managing Your AWS CodeStar Project Team
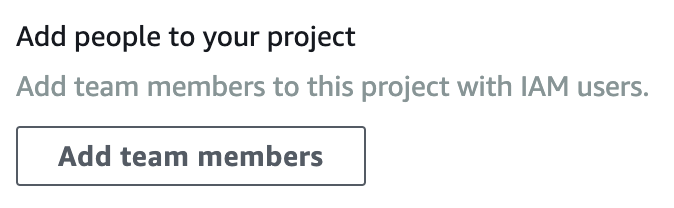
1. Return to your AWS CodeStar project’s Overview and click on Add team members:
2. Click on the Userdrop-down menu and click on Logan.
3. Set the team member values for Logan to:
- Email address: test@cloudacademy.com
- Project Role: Contributor
- Remote Access: Checked (This allows the team member to upload an SSH public key to connect to EC2 instances)
The difference between the default Project Roles is:
- Viewer: Access to the project dashboard and able to view a few project resources
- Contributor: Everything Viewer can access plus view, modify, and access all project resources
- Owner: Everything Contributor has plus adding and removing team members, and deleting the project
4. Click Add team member:

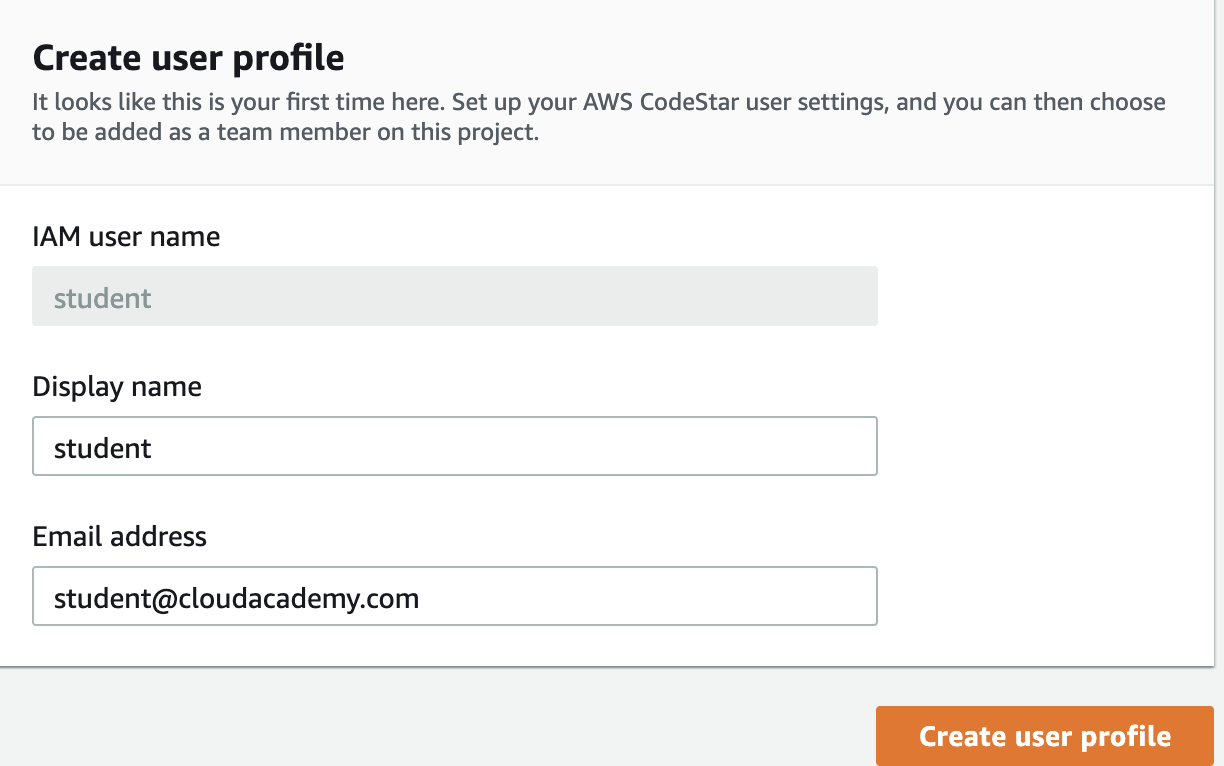
After adding a team member, you will be asked to create a profile for yourself.
5. In the Create user profile form, enter the following values before clicking Create user profile:
- Display name: student
- Email address: student@cloudacademy.com
You will see Logan and studentappear in the Team memberslist.
6. Click Add team member and select Bessie from the drop-down menu.
7. Enter the following values and click Add:
- Email address: bessie@cloudacademy.com
- Project Role: Viewer
- Remote Access: Unchecked
Now you can briefly experience the differences between the project roles.
8. At the top of this Lab page, click on the Open Environment button.
This will sign you out of the student user and allow you to sign in as a different user.
9. Log in to AWS using the team member in the viewer role:
- User Name: Bessie
- Password: Lab-Viewer1
11. Click on your project name.
Observe that the viewer role has access to view the same tabs as your student user.
13. Click on the Repository > Commit ID and see that a viewer is allowed to view code changes.
14. Return to the project Pipeline section and click Release change, then Release.
You will receive an error message stating that you are not authorized to perform that action:

15. At the top of this Lab page, click on the Open Environment button and sign in again with the following credentials:
- User Name: Logan
- Password: Lab-Contributor1
The user Logan is in the contributor role, which has additional permissions than the viewer role.
16. Click Release change, then Continue.
The contributor has permission to perform this action:
17. Click Team in the left sidebar.
Notice that you can only remove yourself from the team and not other members. That is a distinction between the contributor and owner roles.
18. One last time, in the lab, click on the Open Environment button and sign in with the student credentials given in the Credentialssection of the Lab.
Cleaning Up Your AWS CodeStar Project
1. Return to your AWS CodeStar project dashboard and click on Settings:
2. Click Delete project.
3. Enter delete in the pop-up dialog:
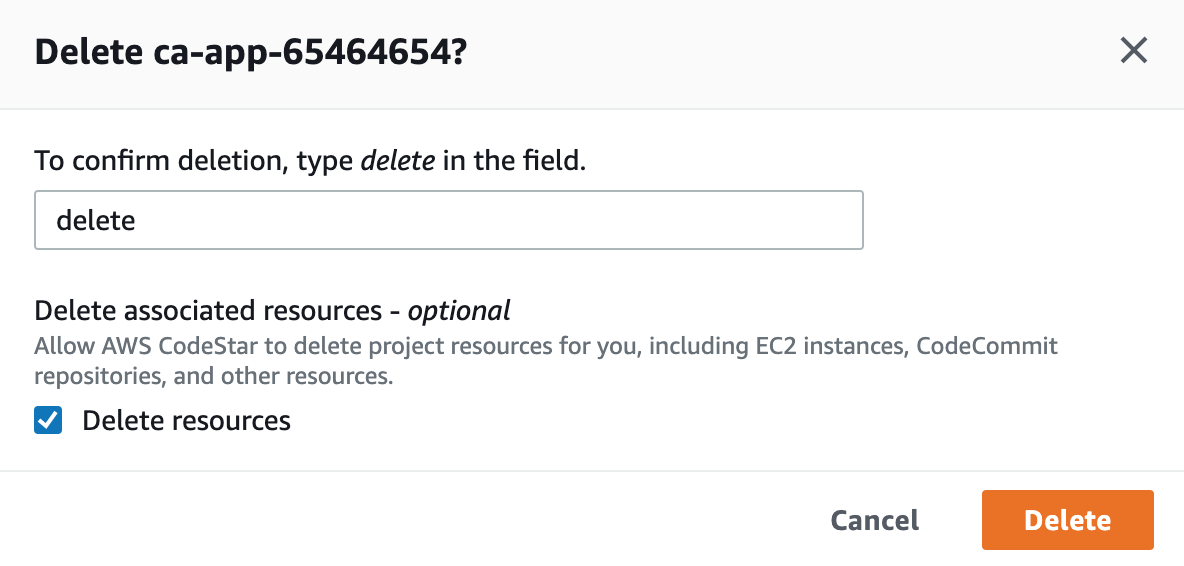
4. Click Delete:
In a few seconds you will return to the AWS CodeStar start page and all of the resources in the project will begin terminating.