Introduction to CodeCommit
On This Page
Lab
https://cloudacademy.com/lab/introduction-codecommit/
Create a repository
1. In the AWS Management Console search bar, enter CodeCommit, and click the CodeCommit result under Services:

2. Click Create repository:

3. In the Create repository form enter the following values accepting the defaults for values not specified:
- Repository name: lab-repository

You can leave the Description field empty for this lab. Usually this field would contain a short description of the purpose of the repository. Attaching meaningful descriptions to repositories makes managing large numbers of repositories easier.
4. Click Create to create the repository.
Creating credentials to access your repository
1. In the AWS Management Console search bar, enter IAM, and click the IAM result under Services:

2. Under Access Management, click Users in the left-hand sidebar menu:

3. In the IAM user list, click student:

4. Click the Security credentials tab:

5. Scroll down to the HTTPS Git credentials for AWS CodeCommit section and click Generate credentials:

6. In the box that opens, click Download credentials:

Your browser will download a file called credentials.csv.
Keep these credentials saved, you will use them in later steps.
Accessing a shell with Git available
1. In the AWS Management Console search bar, enter EC2, and click the EC2 result under Services:

2. In the left-hand side menu, click Instances:

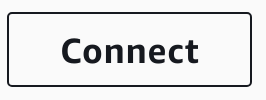
3. Select the instance and in the row of buttons above the instance list, click Connect:
4. In the Connect to instance dialog, ensure EC2 Instance Connect is selected and enter in the User name field:
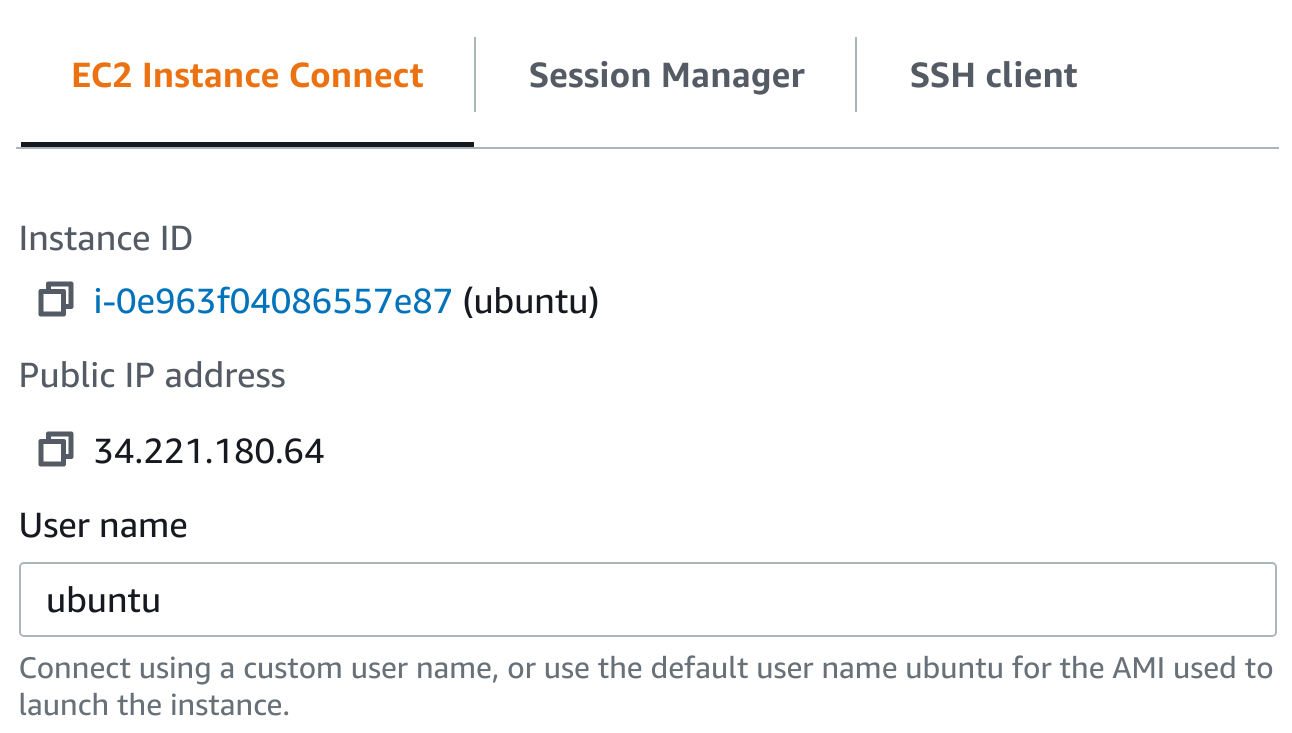
5. To open a shell on this instance, click Connect.
EC2 Instance Connect allows you to connect to the instance over SSH using your web browser. With EC2 Instance Connect a new browser window opens an SSH shell on a Linux host that has git installed.
Keep this window open, you will use it in later steps.
Adding files to your repository
1. Navigate to the CodeCommit Console.
2. In the list of repositories, click lab-repository:

3. Click Clone URL and select Clone HTTPS in the drop-down menu that opens:

The URL of the repository has been copied to your clipboard.
4. To copy the repository to your Linux host, in your shell, type git clone followed by a space and paste the repository URL:
git clone https://git-codecommit.us-west-2.amazonaws.com/v1/repos/lab-repository
5. When prompted, enter the username and password from the credentials file you downloaded in the Creating credentials to access your repository step:

You can ignore the warning about cloning an empty repository.
You have copied the repository from AWS CodeCommit and stored it locally on the Linux host.
6. To change to the directory of the repository, enter the cd command:
cd lab-repository
7. To create a file, enter the following command:
echo "lab" > lab.txt
With this command you have created a file called lab.txt that can be added to your local repository.
8. To add the file to your local repository, enter the following commands:
git add lab.txt
git commit -m "Lab commit"
In Git terminology, with the first command you are “staging” the file before you commit it. This process enables you to specify which files you want to add to the repository and which ones you want to ignore when committing.
You will see output similar to the following:
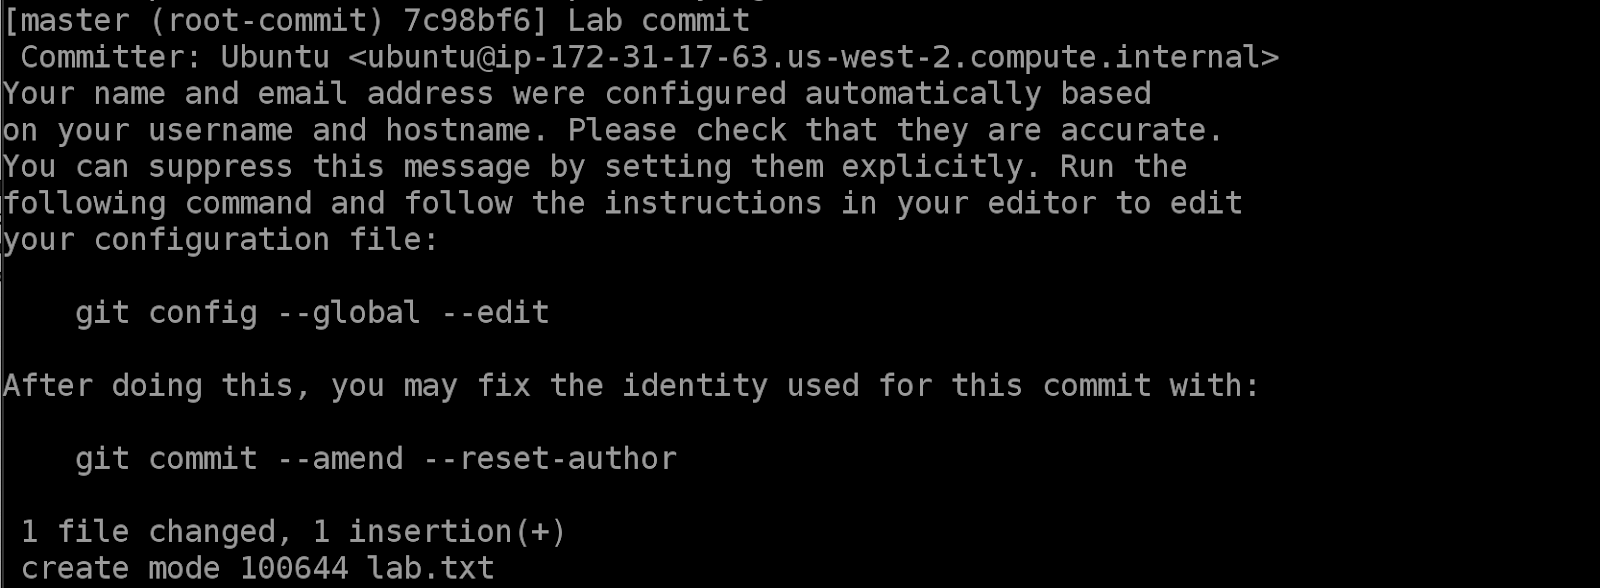
You can ignore the message about your name and email address. Usually when using Git you will configure the name and email address so that your commits are labeled with these details.
You have added the lab.txt file to your local copy of the repository on the Linux host.
Pushing your commit to your remote repository
1. In the shell on the Linux host, enter the following command:
git push
In Git terminology, with this command you are “pushing” your local commit from your “local” repository to the “remote” repository that you “cloned” from.
2. When prompted, enter the username and password from the credentials file you downloaded in the Creating credentials to access your repository step:

You have copied the file from the local repository on the Linux host, to the repository hosted in AWS CodeCommit.
3. Navigate to the CodeCommit Console.
4. In the Repositories list click lab-repository:
You will see the lab.txt file you pushed in the previous Lab step listed.
