Configuring a Static Website With S3 And CloudFront
On This Page
Practice
Creating an Amazon S3 Bucket for a Static Website
1. In the AWS Management Console search bar, enter S3, and click the S3 result under Services:

You will be placed in the Amazon S3 console.
2. To start creating a new Amazon S3 bucket, in the top-right, click Create bucket:

The Amazon S3 bucket creation form will load.
3. Under General configuration, enter the following:
- Bucket name: Enter calabs-bucket-<UniqueNumber>(Append a unique number to the end of calabs-bucket-)
- Region: Ensure US West (Oregon) us-west-2 is selected
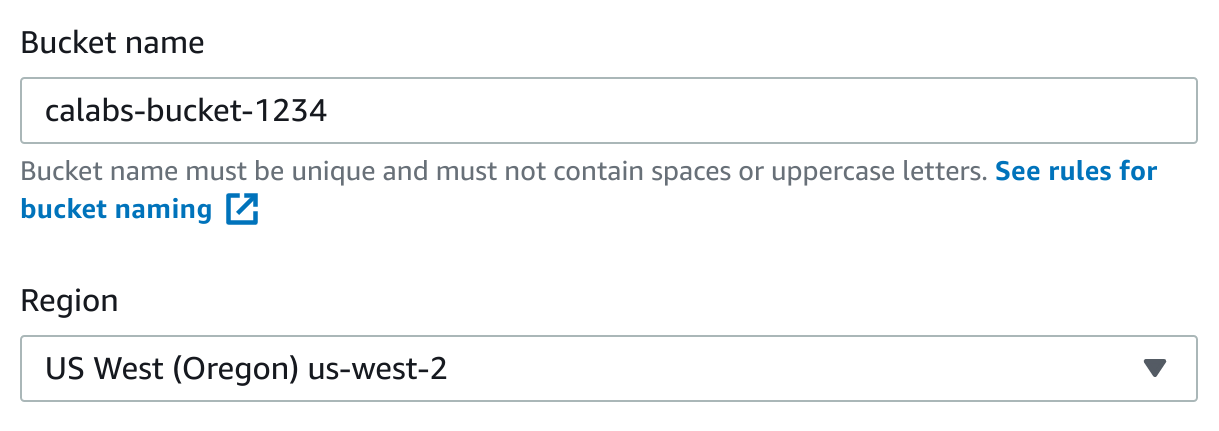
You have added a unique number to the bucket name because Amazon S3 bucket names must be unique regardless of the AWS region in which the bucket is created.
A bucket name must also be DNS compliant. Here are some of the rules it must adhere to:
- They must be at least 3 and no more than 63 characters long.
- They may contain lowercase letters, numbers, periods, and/or hyphens.
- Each label must start and end with a lowercase letter or a number.
- They cannot be formatted as an IP address (for example, 192.168.1.1).
The following are examples of valid bucket names:
- calabs-bucket-1
- cloudacademybucket
- cloudacademy.bucket
- calabs.1
- ca-labs-bucket
Make a note of the name of your bucket, you will use it later.
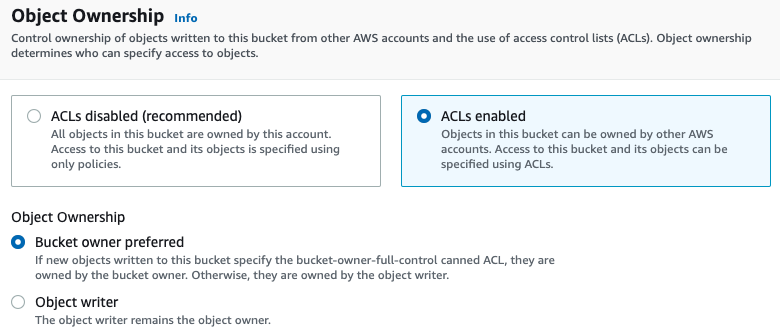
4. Make sure to select ACLs Enabled:
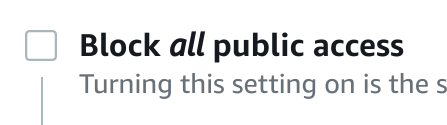
5. In the Block Public Access section, un-check the Block all public access check-box:
6. To acknowledge that you want to make this bucket publicly accessible, check I acknowledge that the current settings might result in this bucket and the objects within becoming public:

7. To finish creating your Amazon S3 bucket, scroll to the bottom of the form and click Create bucket:

Note: If you see an error because your bucket name is not unique, append a different unique number to the bucket name. For example, change “calabs-bucket” to “calabs-bucket-1” (or a unique number/character string) and click Create bucket again.
The Buckets list page will load and you will see a notification that your bucket has been created:

Next, you will enable static website hosting for your bucket.
8. In the list, click the name of your bucket:

You will see an overview of your Amazon S3 bucket, and a row of tabs with Objects selected.
9. In the row of tabs under Bucket overview, click Properties:
The Properties tab allows you to enable and disable various Amazon S3 bucket features, including:
- Bucket Versioning: Old versions can be kept when objects are updated
- Default encryption: A bucket can be configured to encrypt all objects by default
- Server access logging: Web-server style access logs can be enabled
- Requester pays: When enabled, the entity downloading data from this bucket will pay data transfer costs incurred
10. Scroll to the bottom of the Properties page and in the Static website hosting section, on the right, click Edit:

The Edit static website hosting form will load.
11. In the Static website hosting field, select Enable:
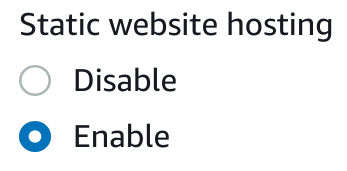
The form will expand to reveal more configuration options.
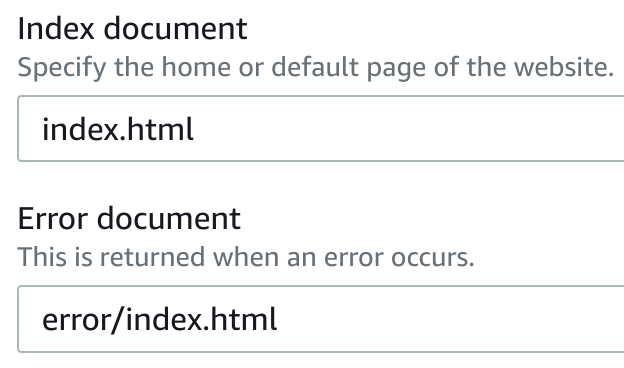
12. Enter the following, leaving all other fields at their defaults:
- Index document: Enter index.html
- Error document: Enter error/index.html
13. To finish enabling static website hosting, scroll to the bottom, and click Save changes:

The bucket overview page will load and you’ll see a notification that you have successfully enabled static website hosting:

Your S3 bucket is ready to host content.
Next, you will create a bucket policy that will apply to all objects uploaded to your bucket.
14. In the row of tabs, click Permissions:
15. Scroll down to the Bucket policy section, and on the right, click Edit.
The Edit bucket policy form will load.
Amazon S3 bucket policies are defined in JavaScript Object Notation, commonly referred to as JSON.
16. In the Policy editor, copy and paste the following and replace YOUR_BUCKET_NAME with the name of your S3 bucket:
{
  "Version": "2012-10-17",
  "Statement": [
    {
      "Sid": "AddPerm",
      "Effect": "Allow",
      "Principal": "*",
      "Action": "s3:GetObject",
      "Resource": "arn:aws:s3:::YOUR_BUCKET_NAME/*"
    }
  ]
}
This policy will allow public access to all objects in your S3 bucket.
This is a permissive policy. In a non-lab environment, security concerns may require you to implement a more restrictive policy. To learn more about bucket policies, visit the AWS Policies and Permissions in Amazon S3 documentation.
17. To save your bucket policy, at the bottom of the page, click Save changes.
The bucket overview page will load and you will see a notification that the policy has been edited.
Next, you will download a basic website from a public GitHub repository and load it into your S3 bucket.
18. To download a zip file containing a basic website, click here.
This is an example website provided by CloudAcademy that is suitable for static website hosting.
19. Extract the zip to your local file system.
Exact instructions will vary depending on your operating system and browser. In most browsers, you can click the downloaded file and a file extraction utility will open.
20. In the row of tabs, click Objects.
21. To begin uploading the website to your Amazon S3 bucket, scroll down and click Upload:

The Upload form will load.
22. In the Files and folders section, click Add files:
A file picker will open.
23. Using the file picker, select all files and folders from inside the zip file you downloaded and extracted earlier.
If your extraction utility extracted the files to a folder called static-website-example-master, ensure you upload all the files and folders inside it but not the static-website-example-master folder itself. To be able to access the website, the index.html file must be at the top-level of your Amazon S3 bucket.
You may find it easier to drag and drop the files and folders onto the Upload page instead of using the file picker.
You may also see a browser confirmation dialog asking you to confirm you want to upload the files.
Once selected, the files and folders from the zip file will appear in the Files and folders section.
24. Scroll to the bottom of the page and click Upload.
You will see a blue notification displaying the progress of the upload, and when complete you will see a green Upload succeeded notification.
25. To exit the Upload form, on the right, click Close.
The bucket overview page will load.
Your Objects section should look similar to:
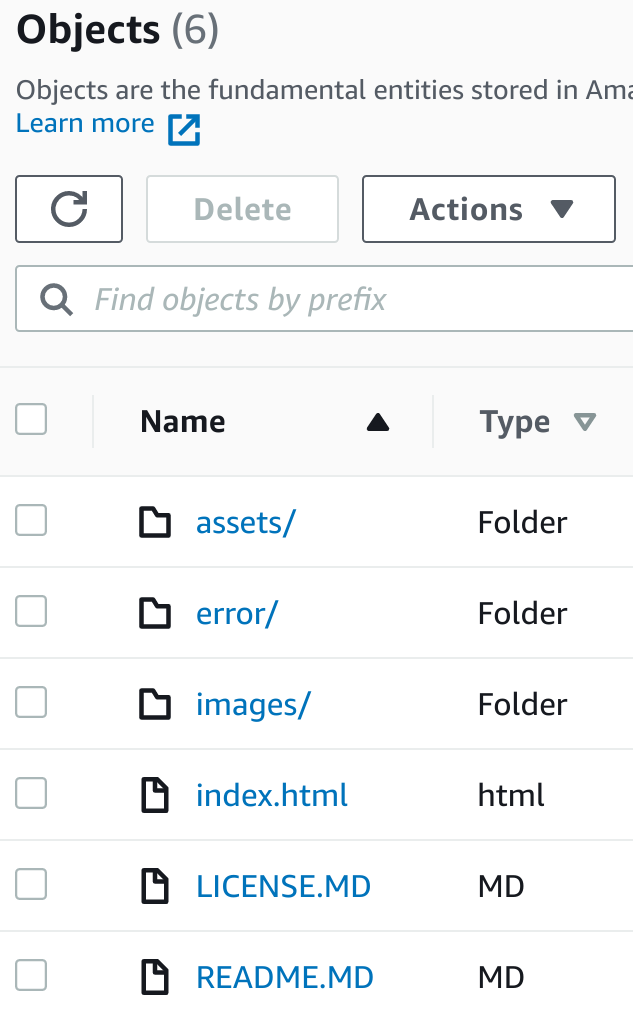
Next, you will test that your website is accessible.
26. To retrieve the endpoint for your bucket, click the Properties tab, scroll to the bottom, and click the copy icon next to the Bucket website endpoint:
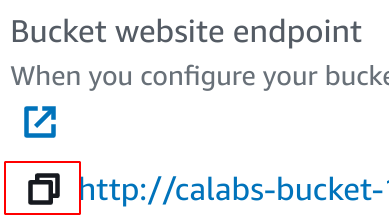
27. Paste the endpoint into the address bar of a new browser tab.
You will see a website load that looks like this:
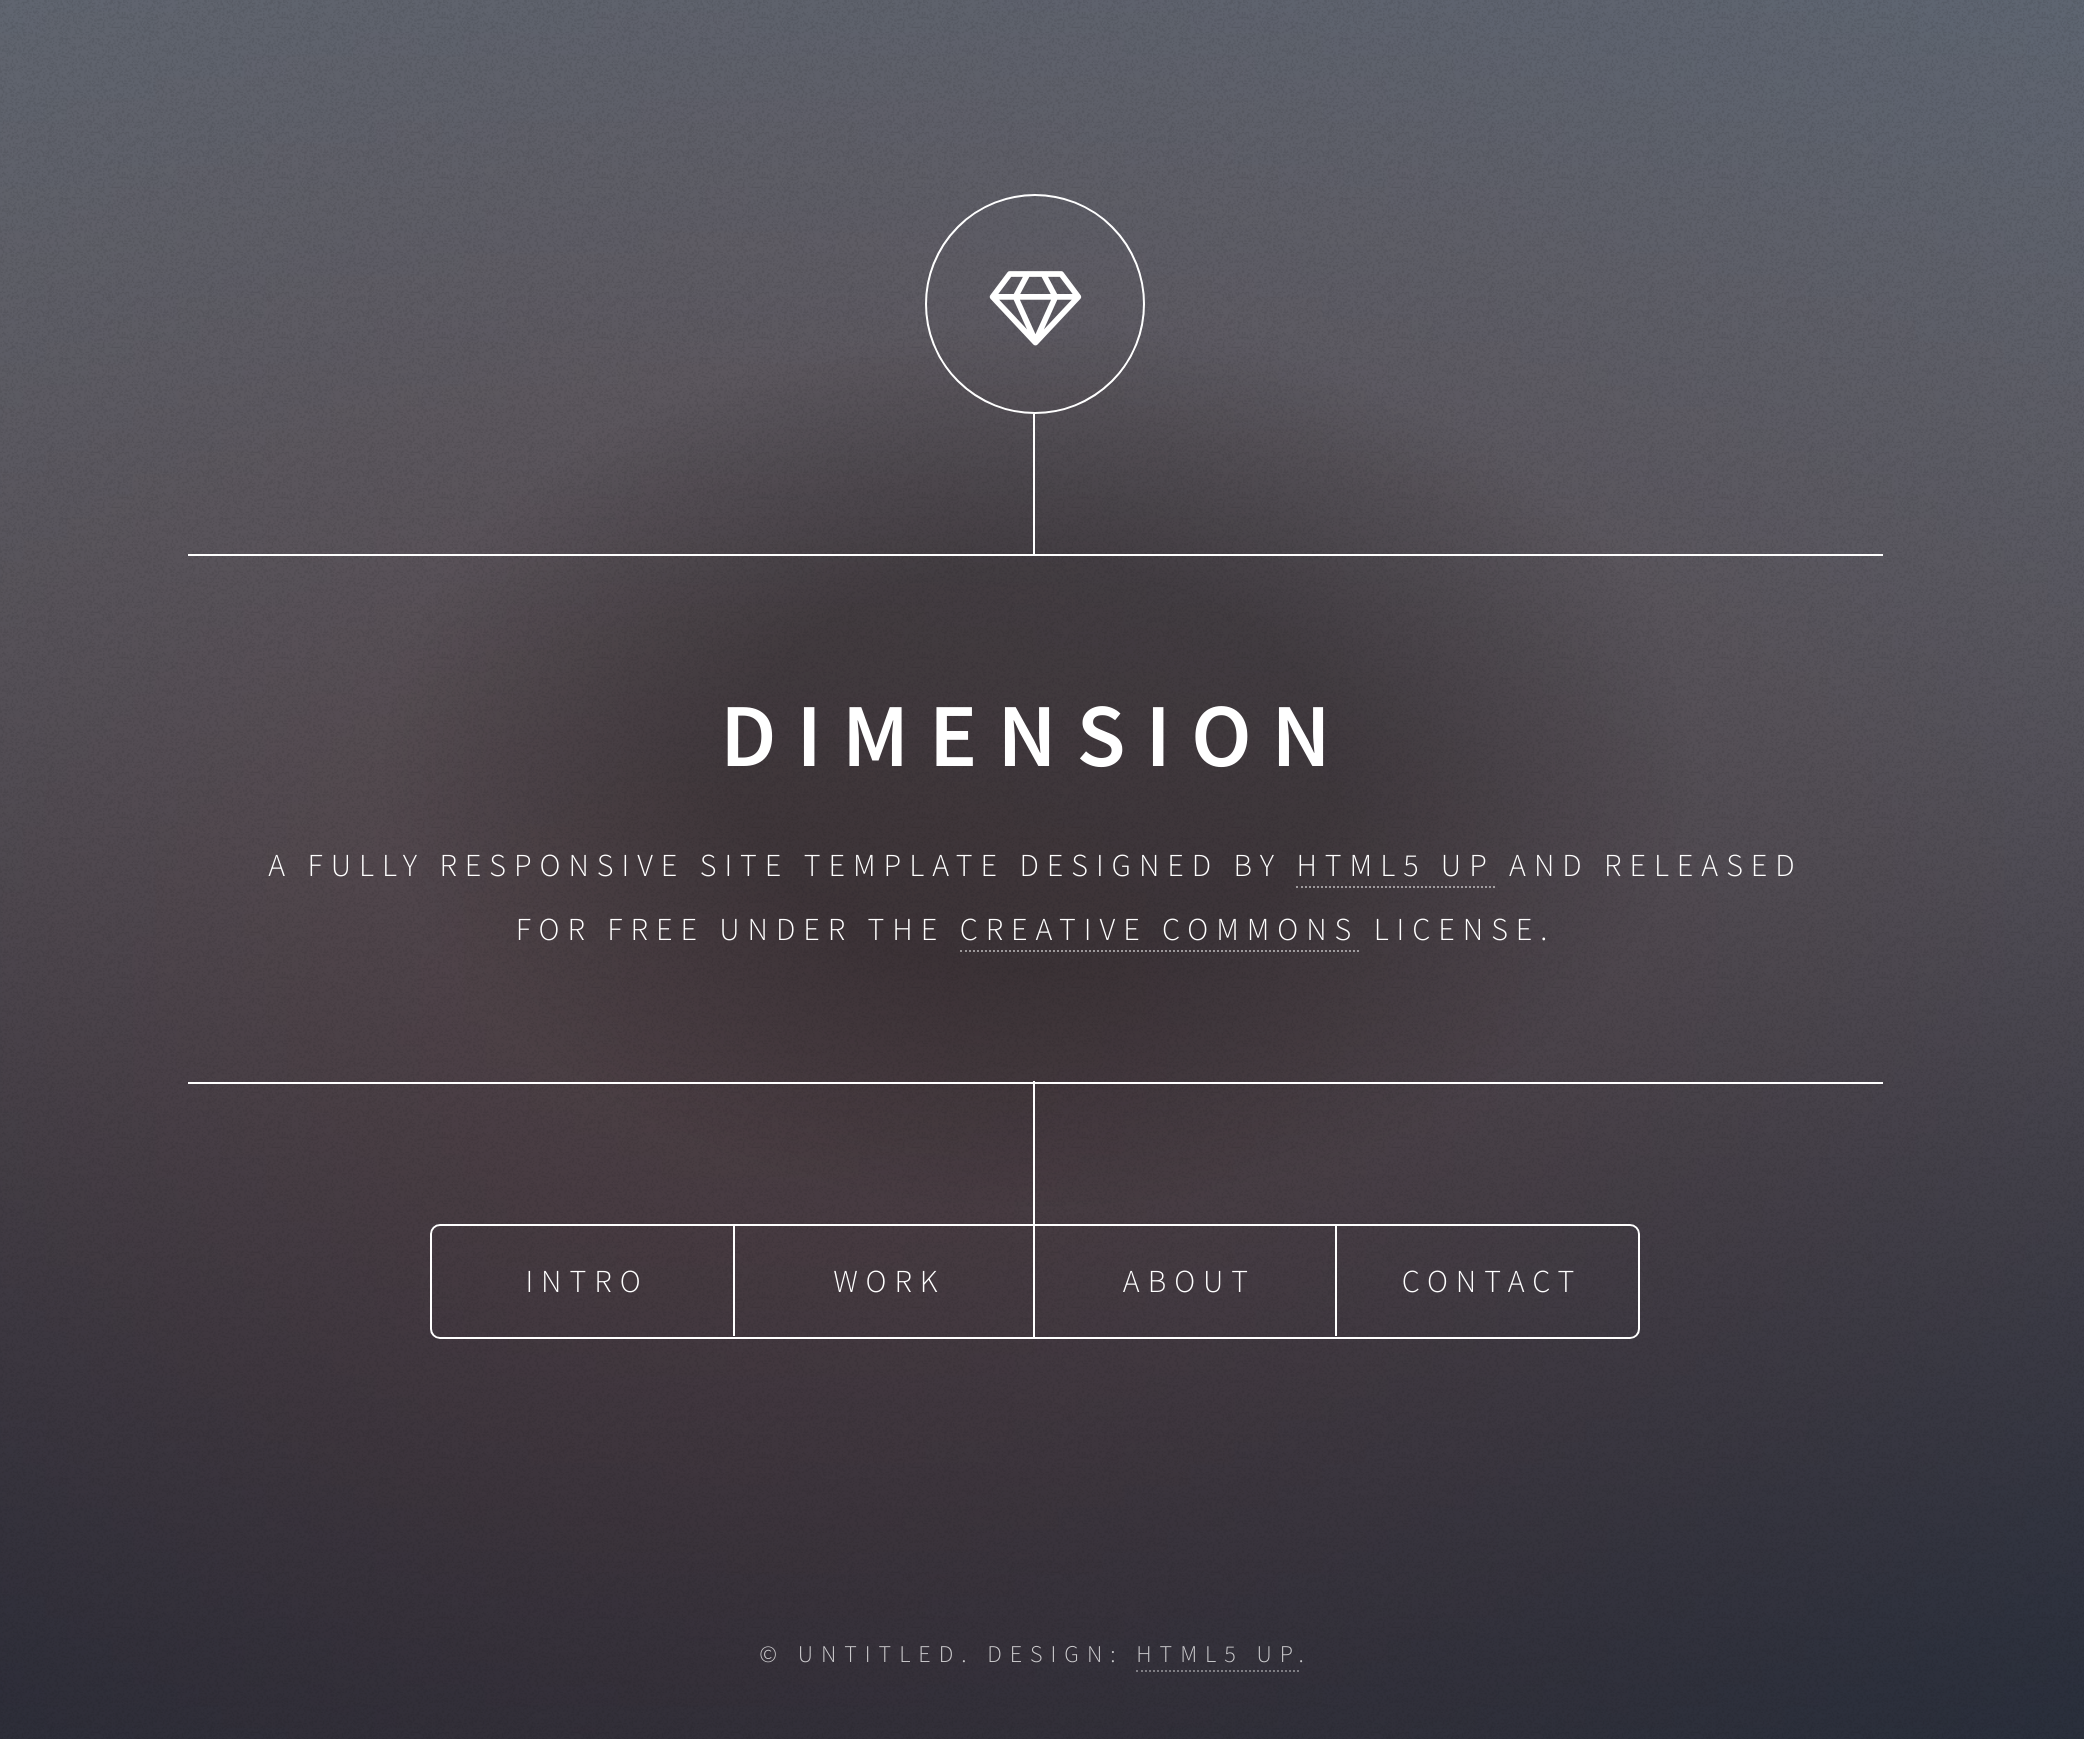
This website is being served by your Amazon S3 bucket.
Creating an Amazon CloudFront Distribution for the Static Website
1. In the AWS Management Console search bar, enter CloudFront, and click the CloudFront result under Services:

The Amazon CloudFront console will load.
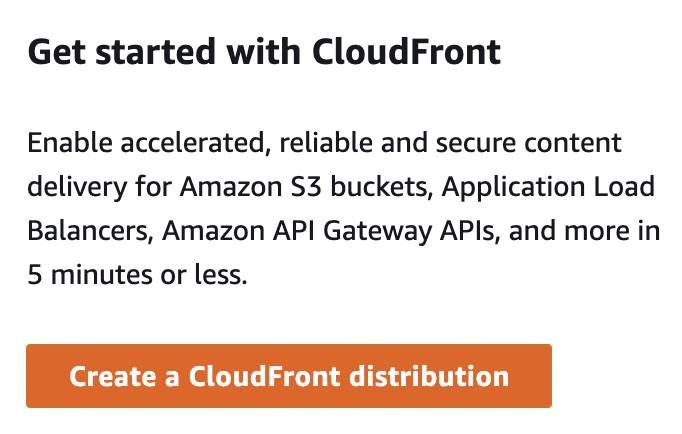
2. To start creating a distribution, click Create a CloudFront Distribution:
3. Under Origin, in the Origin Domain text-box, enter the Amazon S3 static website hosting endpoint that you created earlier:

4. Scroll down to theSettings settings, in the Default Root Object text-box, enter index.html:

You are setting this field because Amazon CloudFront doesn’t always transparently relay requests to the origin. If you did not set a default root object on the distribution you would see an AccessDenied error when you access the CloudFront distribution’s domain later in this lab step.
To learn more, see the How CloudFront Works if You Don’t Define a Root Object section of the AWS developer guide for Specifying a Default Root Object.
5. Leave all other settings at their default values, scroll to the bottom, and click Create Distribution.
The CloudFront distribution list page will load and you will see your distribution listed.
You will see the Last Modified of your distribution is Deploying:
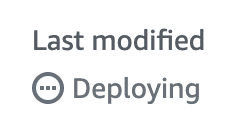
It can take up to 15 minutes to deploy a new Amazon CloudFront distribution. Once complete, the Status will change to Enabled.
There are two main types of origin that Amazon CloudFront supports, Amazon S3 buckets, and custom origins. A custom origin could be a website being served by an EC2 instance, or it could be a web server outside of AWS. To learn more while your CloudFront distribution is deploying, visit the AWS Using Amazon S3 Origins, MediaPackage Channels, and Custom Origins for Web Distributions page.
Once your deployment is complete, continue with the instructions.
6. To view details of your distribution, click the random alphanumeric ID:
Note: Your ID will be different.
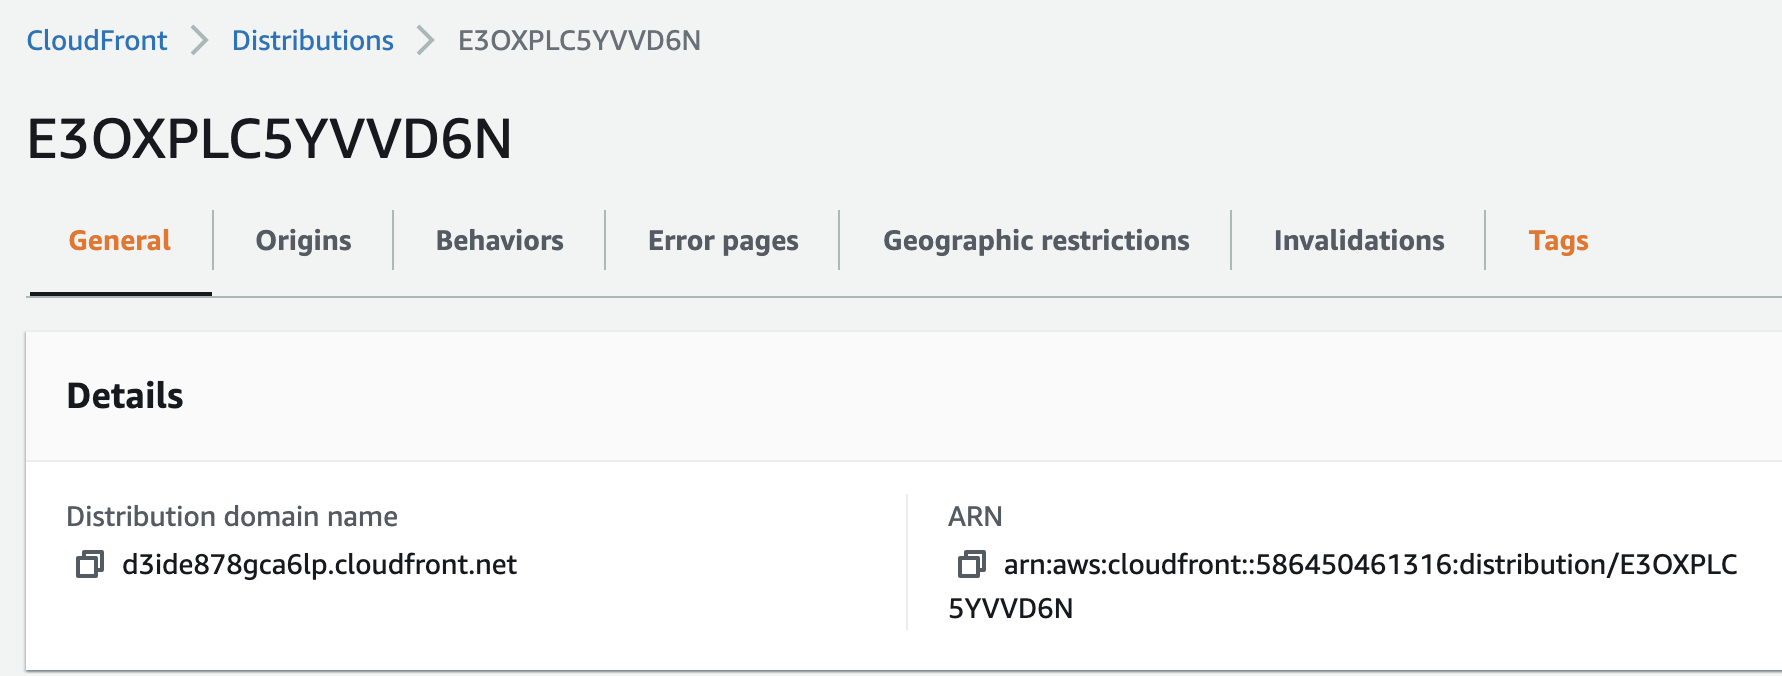
7. Copy the value of the Distribution Domain Name field:

8. Paste the domain name into the address bar of a new browser tab.
You will see the website that you uploaded to your Amazon S3 bucket display:
You are accessing the website through your Amazon CloudFront distribution.
Note: The instructions below are optional. Perform them if there is enough time left in the lab.
9. On the website, click through and visit the different pages a few times to generate traffic.
If you have a different web browser available, try accessing the site in the other browser.