How to upload an opensource application to SourceForge
![[]](https://romankurnovskii.com/en/posts/how-to-upload-app-to-sourceforge///assets/002.png)
On This Page
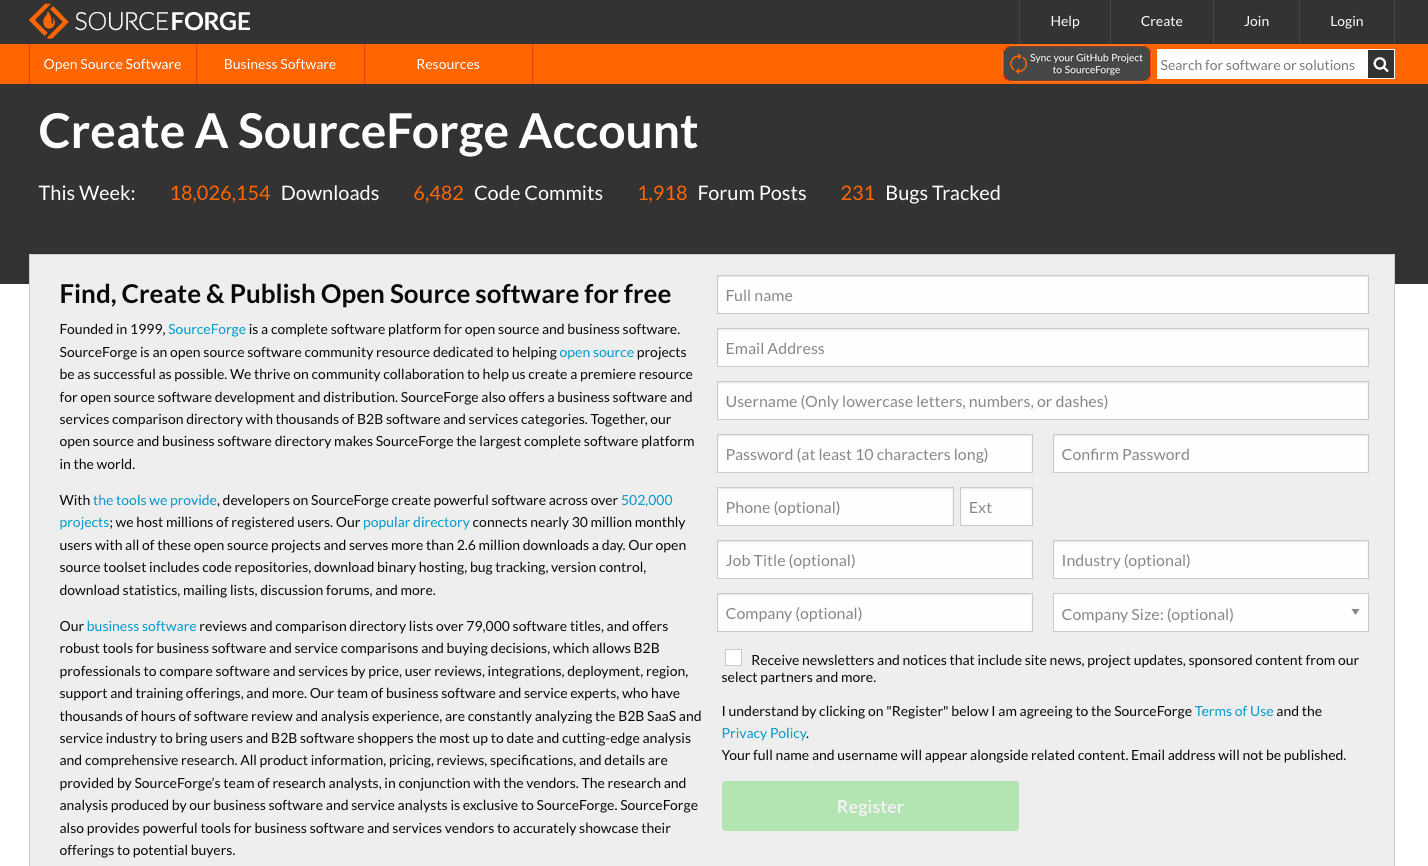
Step 1: Create a SourceForge account
- Go to the SourceForge website at https://sourceforge.net/
- Click on the “Join” button in the top-right corner.
- Fill in the required fields, such as username, email, and password, then click “Register”
- You’ll receive a confirmation email from SourceForge. Click on the link provided to confirm your account.
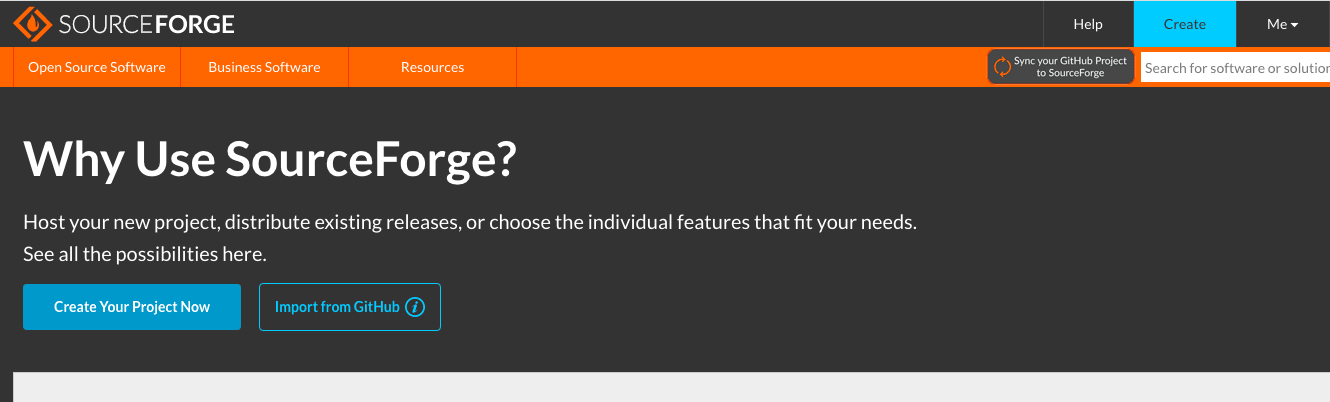
Step 2: Start a new project
- Log in to your SourceForge account.
- Click on the “Create” button in the top-right corner of the page. Select “Create Your Project Now” from the dropdown menu.
Step 3: Configure your project
- Enter a unique name for your project in the “Project Name” field. This name will also serve as your project’s URL.
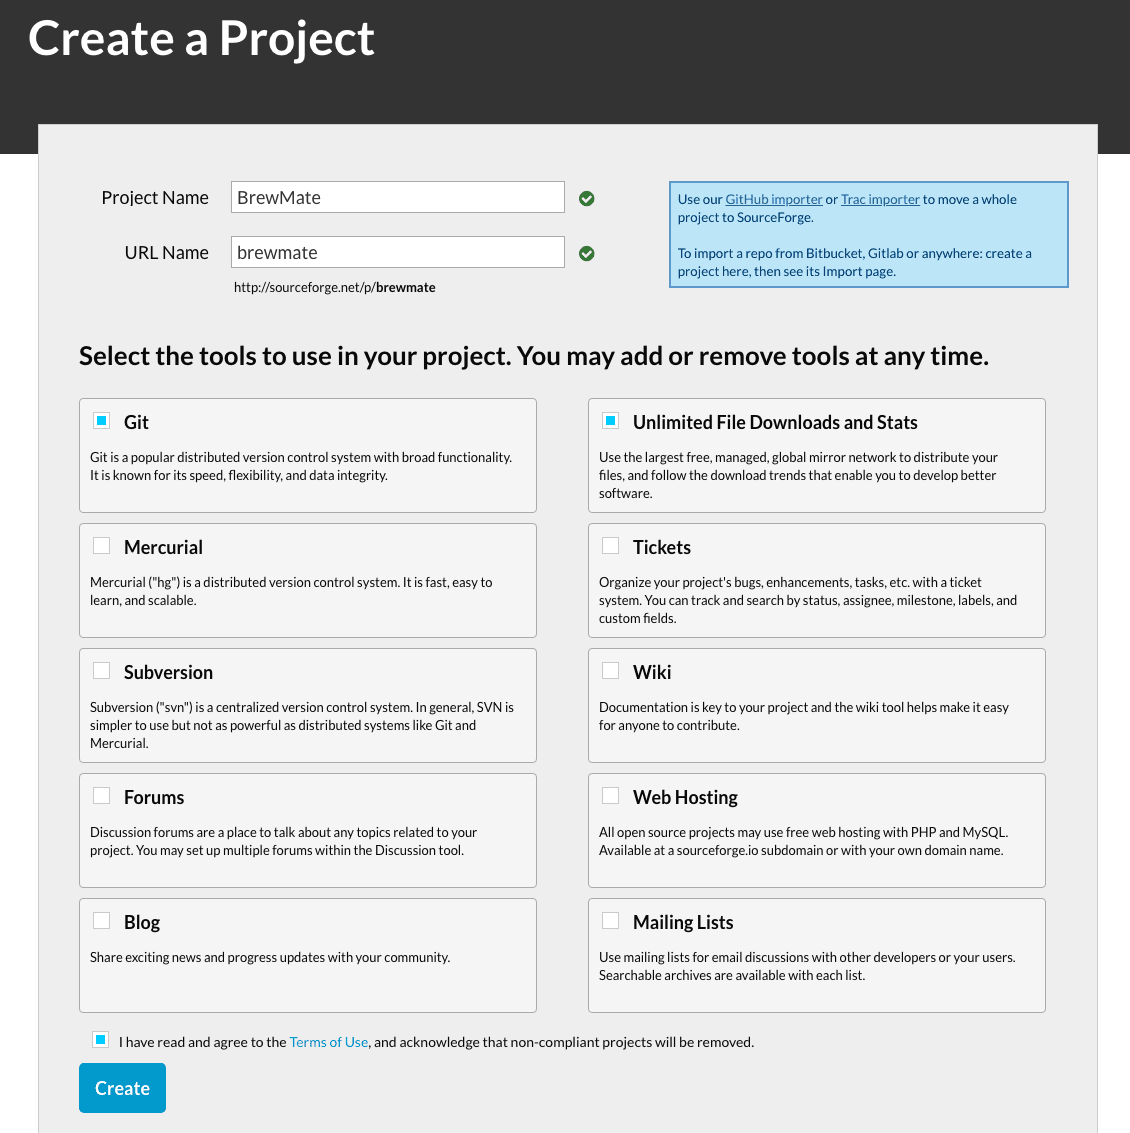
- Provide a Phone number if required. You will get a pin for verification.
- Next you will see a quick tour that could help you to fulfill all the required fields.

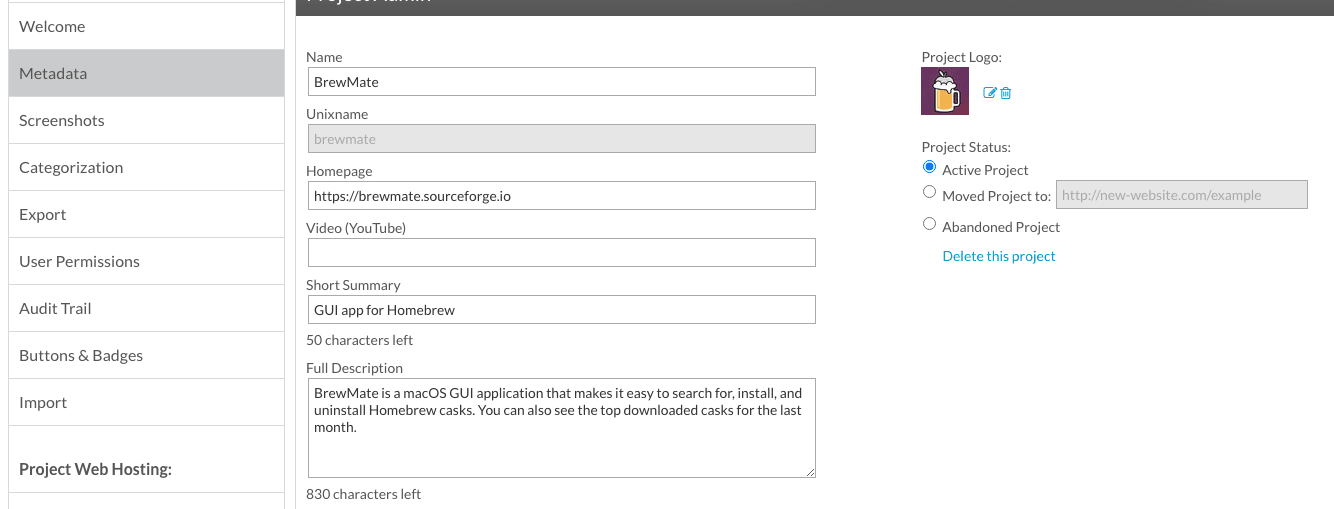
Provide a brief description of your project in the “Short Summary” field.
Upload Project Logo
Click “Save”.
Fill other fields from left sidebar menu.
- Choose an appropriate “License” for your open-source project from the dropdown menu. If you’re unsure which license to choose, you can refer to the Open Source Initiative’s list of approved licenses (https://opensource.org/licenses).
- Select the “Programming Language” and “Operating System” that your project is built for.
- Add any relevant “Tags” to help users find your project.
- Click the “Create” button at the bottom of the form to create your project.
Step 4: Configure your project’s Source Control Management (SCM)
SourceForge supports several SCM options, including Git, Mercurial, and Subversion. Choose the one that best suits your needs.
- Go to your project’s main page.
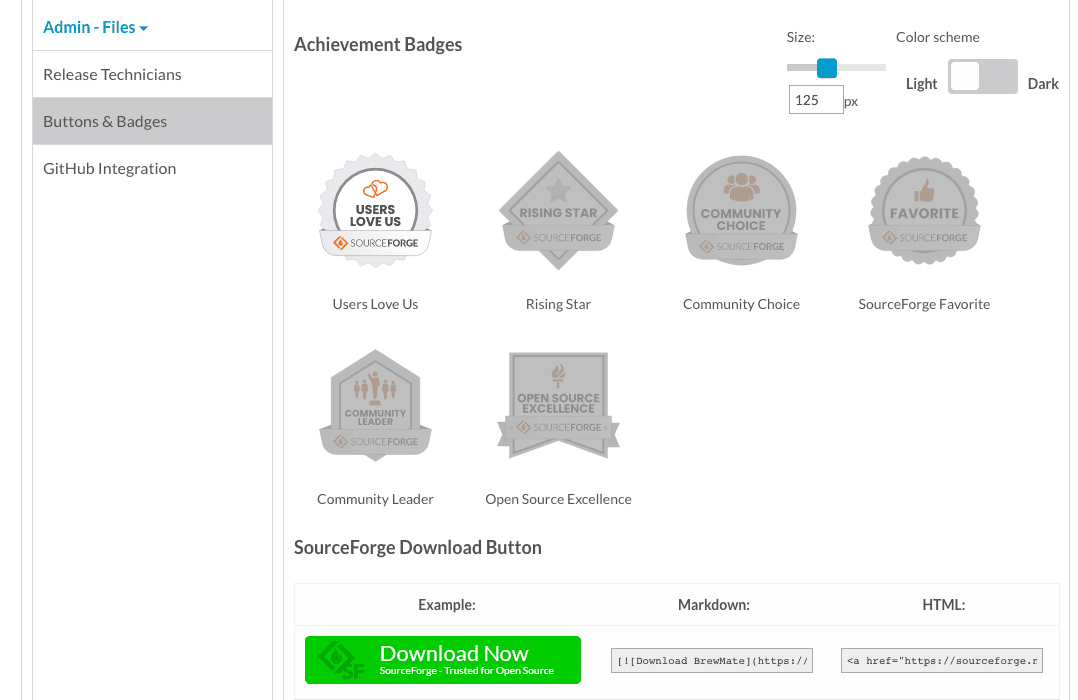
- Click on the “Buttons & Badges” link in the left side bar.
- Click “GitHub Integration”.
- Enter your GitHub username/repo.
- Click “Set up” or choose “Set up integration manually”.

Step 5: Set up release files (optional)
If you want to provide compiled binaries or other release files for users to download, follow these steps:
- Go to your project’s main page.
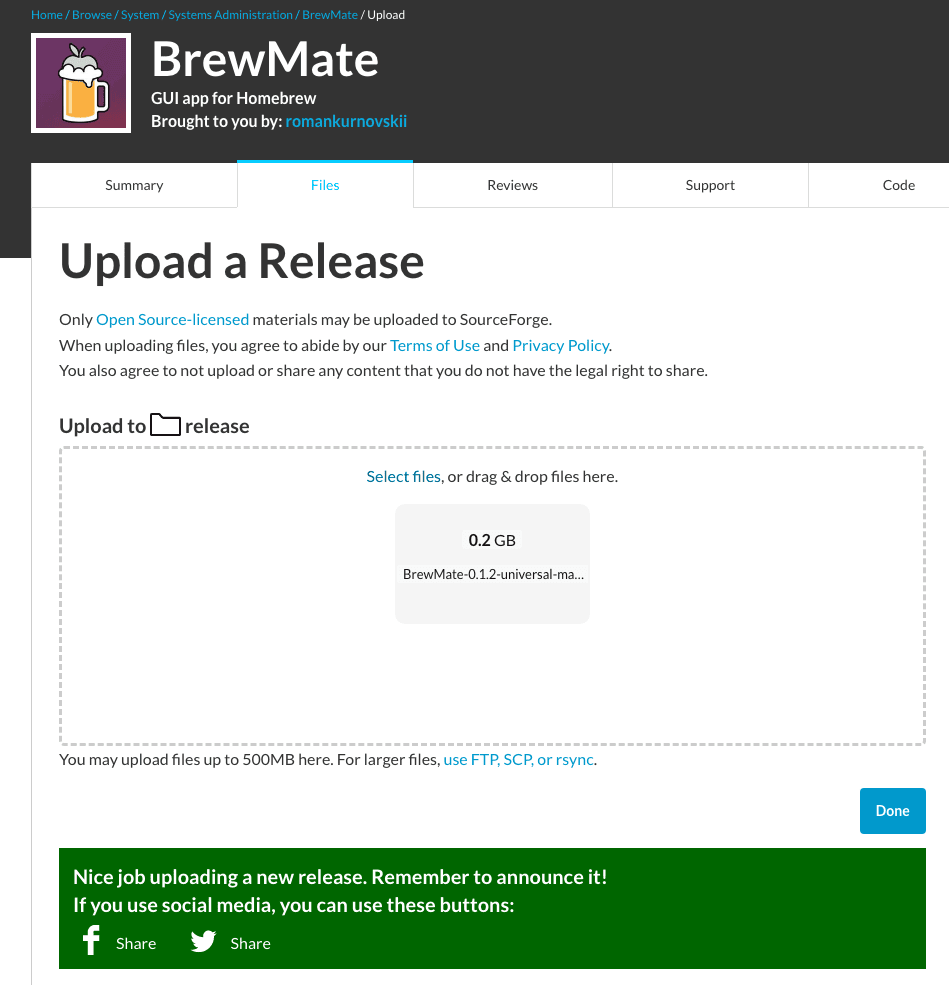
- Click on the “Files” tab in the top navigation bar.
- Click on the “Add Folder” button to create a new folder for your release files (e.g., “v1.0”).
- Click on the newly created folder and then click the “Upload” button.
- Select the release files you want to upload, and click “Open” to start the upload process.
Summary
Now we have a project page on SourceForge.
Here is a button for download:
[](https://sourceforge.net/projects/brewmate/files/latest/download)
Project url: https://sourceforge.net/projects/brewmate/