AWS Amplify - Set custom domain
On This Page
You can use any custom domain with Amplify and no need register it with AWS Route53.
I am adding domain at the setup app stage. Another way is from console.
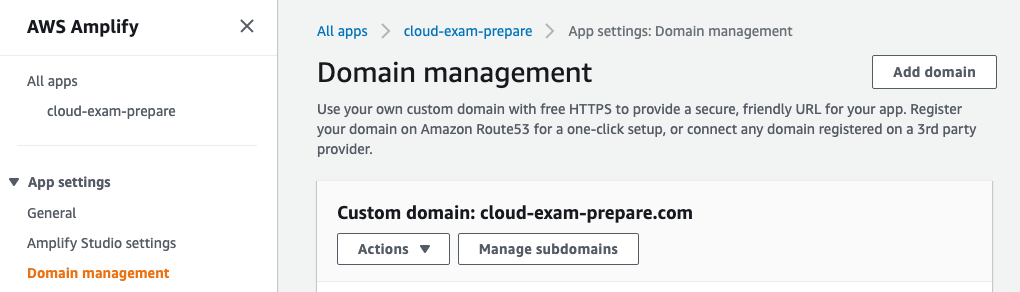
- Click Domain management.
or
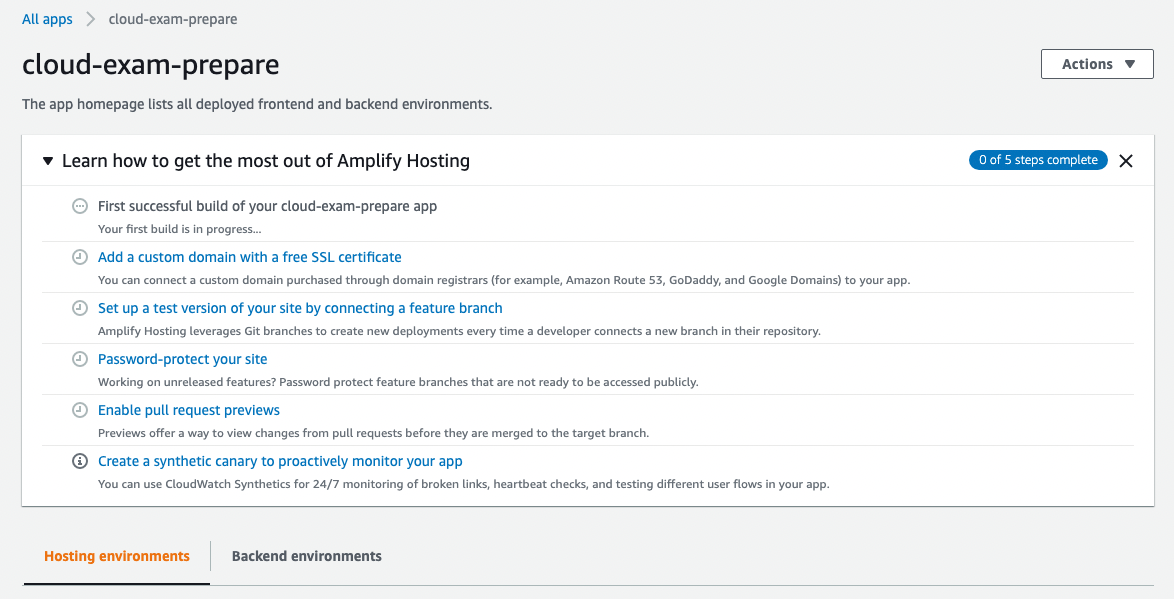
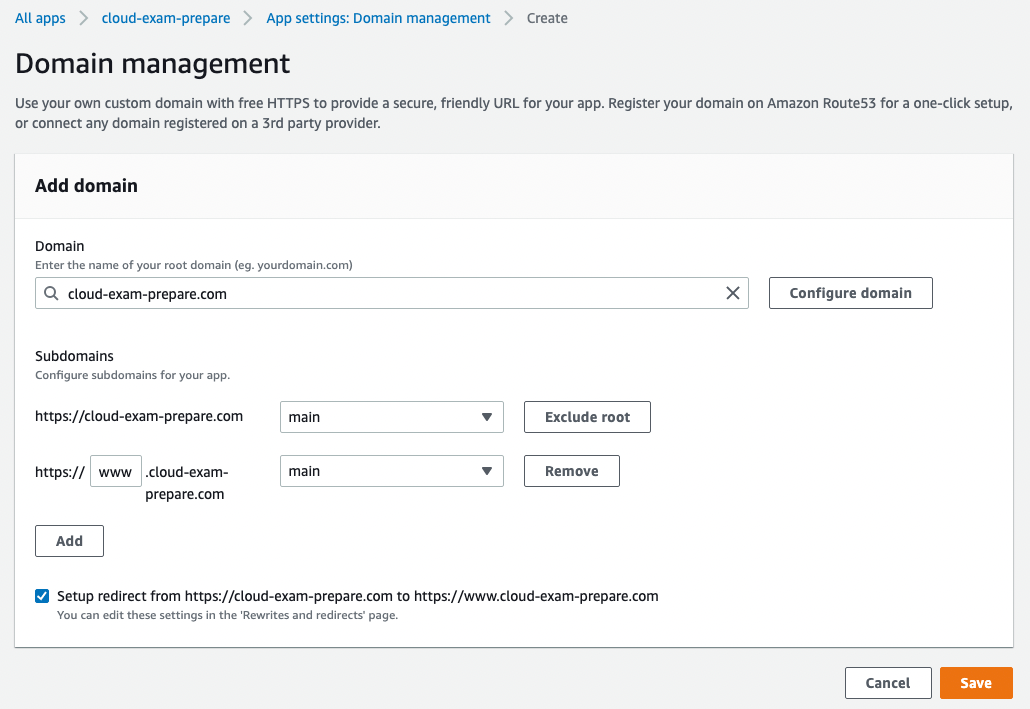
- Add domain
- Write domain name -> Configure domain -> Save
- Nest starts SSL configuration process. Amplify provides with DNS data that you need to write in the domain register account.
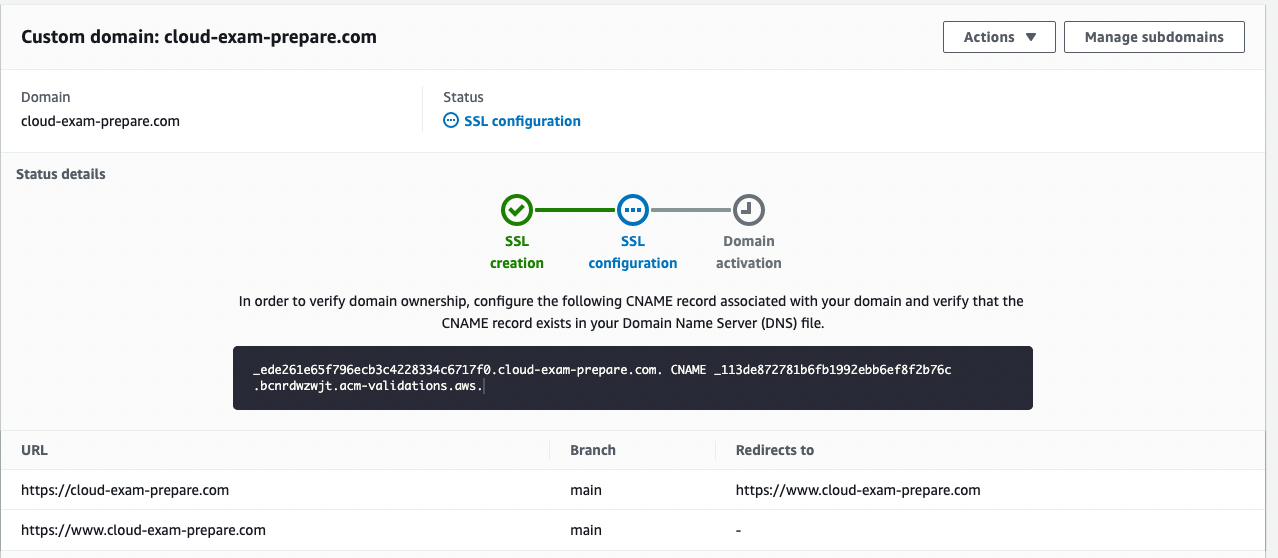
Once SSL creation starts you can get domain data
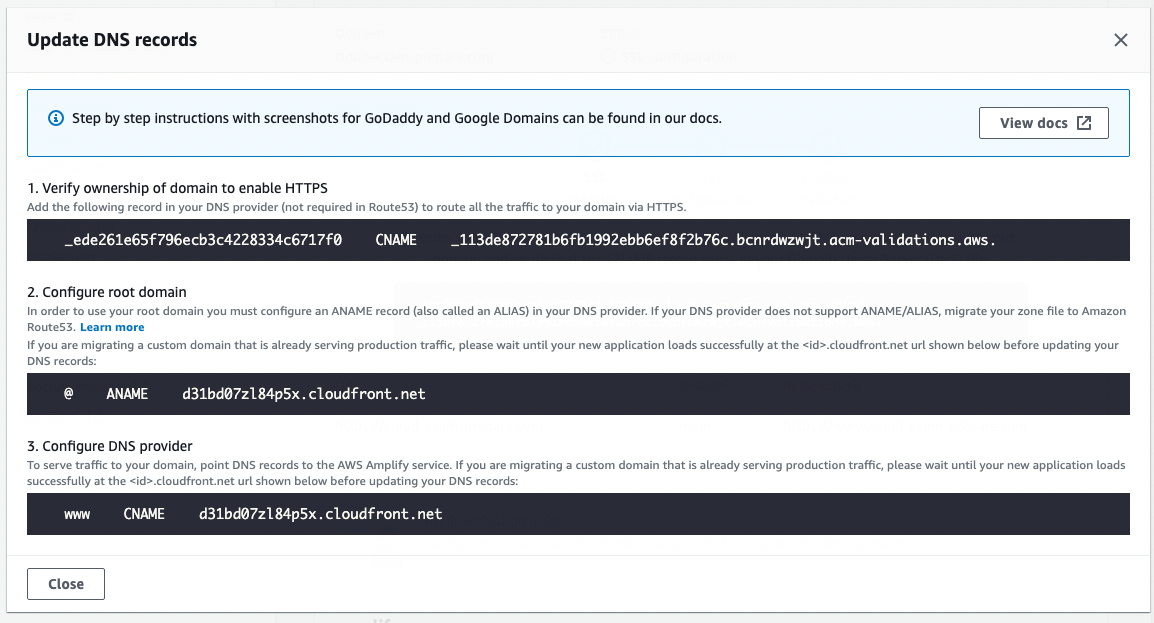
Action -> View DNS records
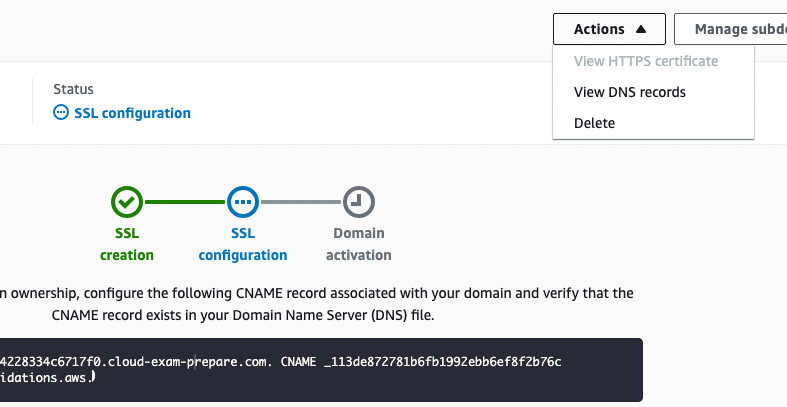
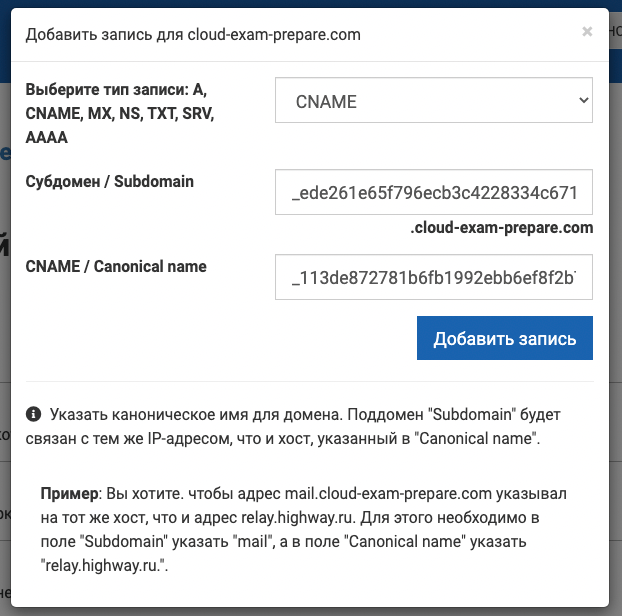
- Copy provided data (DNS records) and then set it in the domain registrar panel.
- Go to domain registrar
- Set dns servers to default
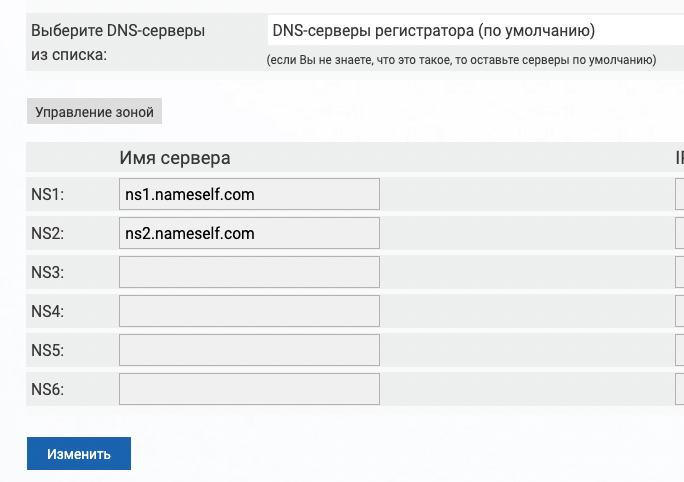
- In my case panel looks like this:

- Save
- Go to amplify and check for updates. Amplify checks DNS server and if everything is correct (CNAME set) it will proceed to the next step.

SSL configuration passed, waiting up to 30 min for domain activation
- Once done we can check url: https://cloud-exam-prepare.com
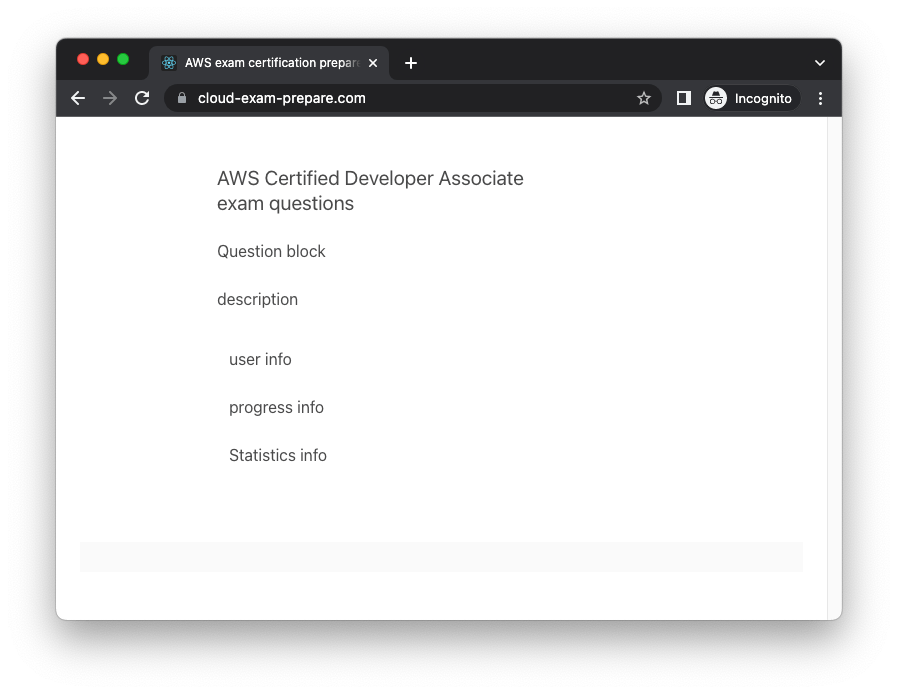
Check url: cloud-exam-prepare.com
Resources: